canning

New Tool Makes Canning Easier

I taught a class on food preservation this summer at Sterling College and one of the things that had my students stumped was the idea of putting on the screwbands on the canning jars just "finger-tight."

Applying the SureTight Band Tool 

Applying the SureTight Band Tool 

"Finger-tight"—the term is courtesy the National Center for Food Preservation (the ultimate authority on food preservation)—is something of a misnomer.  I suppose they chose the term to distinguish it from Ninja-tight or "plumbing-tight" but it implies a certain delicacy when a certain firmness is needed.

If a screwband is applied too tightly on a canning jar, there is the potential that the jar will explode in the canner.  But if the screwband is applied too loosely, the contents of the jars can bubble out, deposit food debris on the rims, and prevent a good seal.

Apparently, other people find the term "finger-tight" confusing because Ball Canning has come up with a tool to take the guess work out of it.  The tool is called the "Sure Tight Band Tool" and it can be found for between $7 and $15 dollars wherever canning supplies are sold and online.  What surprised me about the tool—and I've been canning for years—is how tight "finger tight" is.  I think "firm-tight" would be more accurate...

To tighten screwband, turn handle until arrows align.

To tighten screwband, turn handle until arrows align.

In any case, this is the time of year I when I can tomatoes, when the kitchen is cooled off (and before my freezer fills with a half pig share).  My tomatoes were dumped into jumbo plastic bags and unceremoniously frozen last summer.  I dump the tomatoes still frozen into a stockpot and cook them down into puree or paste. 

Just dump the frozen tomatoes into a stock pot and begin cooking.

Just dump the frozen tomatoes into a stock pot and begin cooking.

After the tomatoes have cooked down, strain out the seeds and skin.

After the tomatoes have cooked down, strain out the seeds and skin.

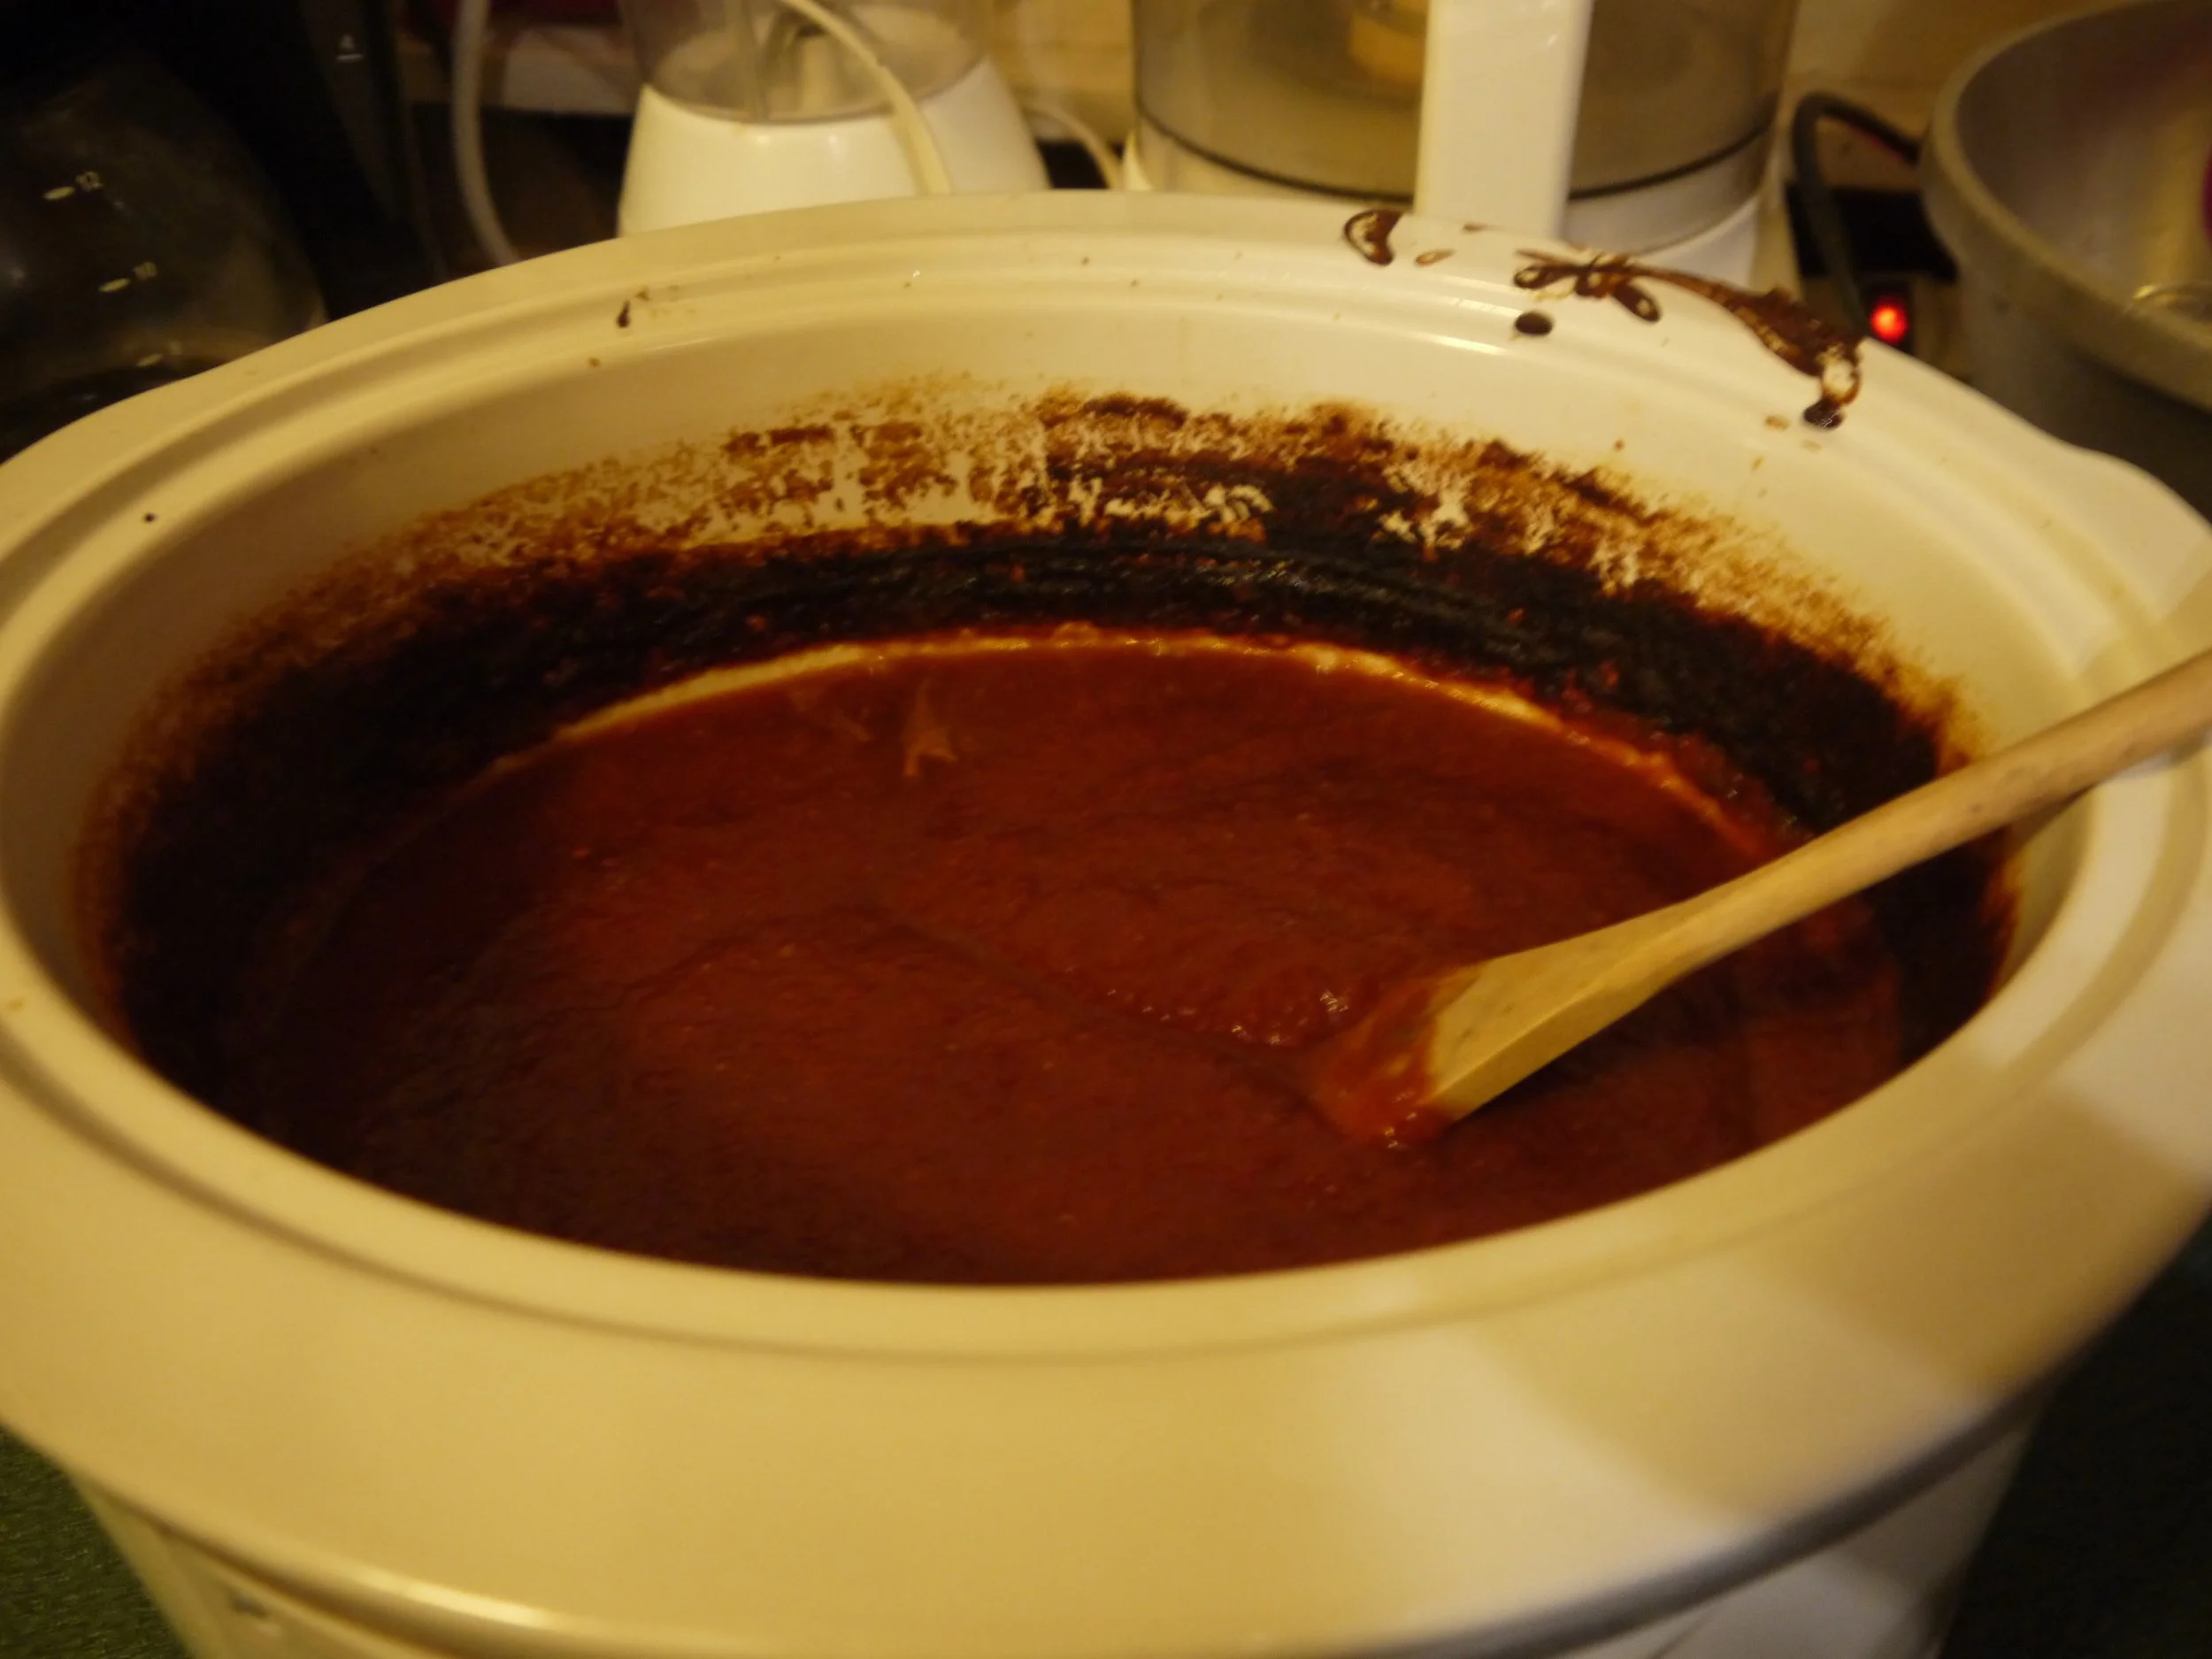
For my most recent batch, I made paste, cooking down the strained puree in an uncovered stockpot for about 16 hours, until a spoon leaves a trail when the paste is stirred.  Per USDA instructions, I added 1 teaspoon of citric acid.  

Cook down the puree until a spoon will leave a trail.  A slow cooker ensures the paste doesn't burn -- and it is easier to clean than it looks.

Cook down the puree until a spoon will leave a trail.  A slow cooker ensures the paste doesn't burn -- and it is easier to clean than it looks.

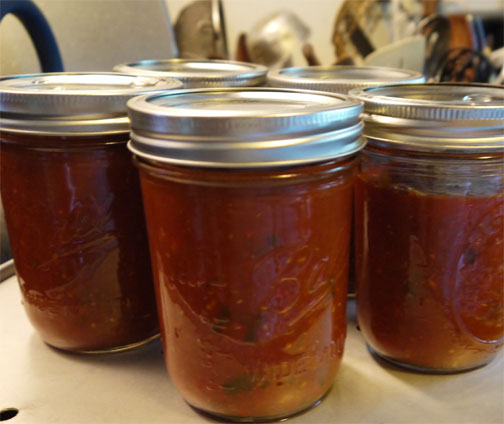
The formula is 14 pounds of tomatoes, cooked down to 8 or 9 half pint jars, with 1 teaspoon of citric acid.  I poured the paste into canning jars, leaving 1/2-inch head space and sealed the jars with my new band-tightening tool.  Then I processed the paste for 45 minutes. 

And every jar sealed.



Playing Ketchup

Playing Ketchup

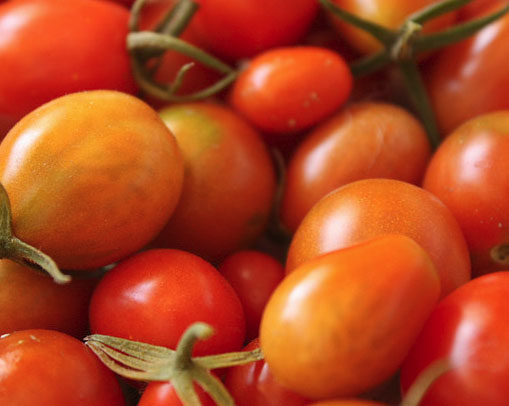
 We grew about six different varieties of cherry tomatoes, including some black, some currant, some grape, some yellow.

I’m always playing catch-up with my garden and my life.  So one of my best tricks for keeping up with my tomato harvest is to freeze the tomatoes as they ripen and make sauces and salsas when I am ready.  Why mention it now?


Because I just turned a 10 pound bag of cherry tomatoes into sauce.  So I figure while you are contemplating how many tomato seeds to order, I will tell you how to tame sugary sweet, amazingly prolific cherry tomatoes into sauce.

 The finished sauce.

There are, of course, plenty of things to do with cherry tomatoes as they ripen.  And because they tend to ripen earlier than beefsteaks or Romas, I do find myself giving over a large portion of my tomato “orchard” to cherries.  Cherry tomatoes are dependable, even when the weather is not.


At some point, a daily harvest of cherry tomatoes yields more than one household could ever eat fresh. Not a problem. I buy jumbo-size plastic bags and the cherry tomatoes go directly into the bag, unwashed, unstemmed, and the bag goes into the freezer.  If the bag isn’t completely filled, I can add more as the tomatoes ripen.


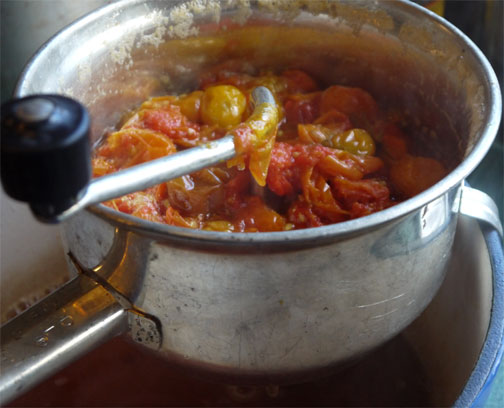
At some point (like now), I’m ready to can them.  The tomatoes go from bag to colander for a rinse, and then from colander to pot to cook them enough to break them down.  Then I run the tomatoes through a food mill, which takes care of the skins and stems and most of the seeds.  The resulting puree is much less than expected, since cherries are mostly seed and skin, but at least they were harvested and put to use, rather than popping up as volunteers next season (though there will be plenty of those).

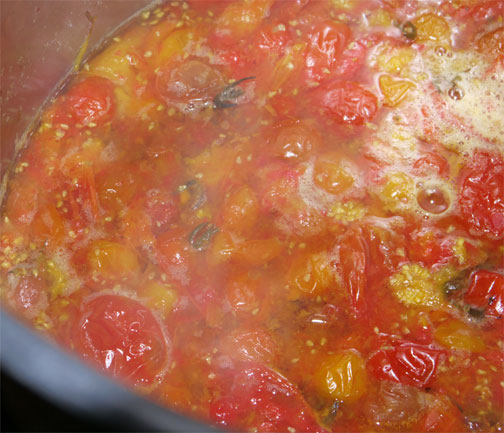
 First I cook the tomatoes to break them down.Then I run the sauce through a food mill.

I cook the puree down to a consistency good for sauce.  If I’m in the mood to pressure can, and no reason not to, I’ll add lots of sautéed onions, garlic, bell peppers, and herbs-- either frozen pesto or dried or frozen basil leaves, plus dried oregano, thyme, and rosemary.  Salt and pepper, of course.  If the sauce is still too sweet, some balsamic vinegar tones down the sweetness nicely, as does a little soy sauce.  Of course, with no added vegetables, it would be fine to can the tomatoes in a boiling water bath.  But the reason to master using a pressure canner is to be able to have foods that are ready to be heated and served.

 The sauce is cooked down until it has a nice consistency.

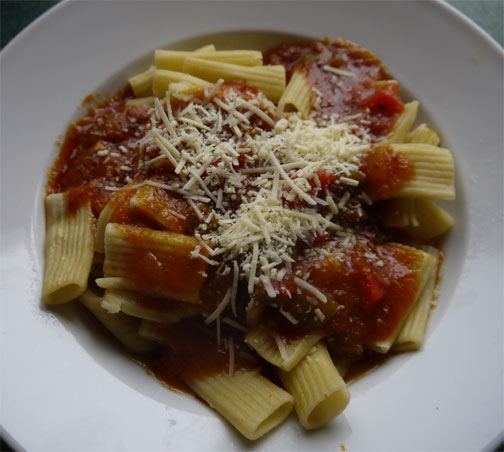
The sauce is still sweet but it pairs particularly well with sausage, I think.  Its just fine on pasta, on pizza, on toasted bread with cheese. Maybe it is a little sweet for all applications, but it is just fine for an occasional meal.

 Dinner is served!

The cherry tomatoes could have gone into ketchup, with the natural sugars in the cherry tomatoes replacing some of the added sweetener in the recipe. 


With frozen cherry tomatoes and long, cold winter nights, there’s no reason not to get some canning done when the extra heat in the kitchen is more than welcome.     

Tomatoes!

Our tomato crop is abundant.  While others around us have had diminished yields due to blight and drought, our garden has never been better.  And it has never been better tended.  My son dug new beds this year, added plenty of compost and manure, and tested and balanced the soil nutrients and pH.  He watered faithfully til the plants started to fruit.  It all paid off.

Tomatoes!


A few of the rosy-blushed, yellow pineapple tomatoes have weighed in at more than two pounds. And are virtually seedless.  What an amazing tomato!  

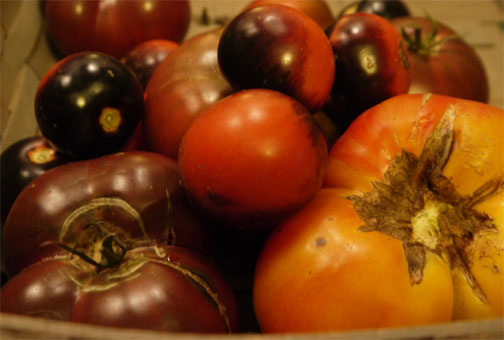
We have Black Cherries, Red Currant Tomatoes, Sungolds, and Super-Sweet One-Hundreds.  We have Yellow Taxies and Purple Cherokees, Indigo Rose, Nyagous, Roma, Black Crim, and Amish Paste.  And we have plenty of Anaheim chiles.  Obviously, it is time to make salsa.

And more salsa.

Chipotle Salsa

But back to those tomatoes: Here’s a partial report.

As always, the cherries were earliest and continue to produce.  The Black Cherries have a very interesting, very rich flavor – very umami one might say. They are big – a two-bite cherry. Sungolds and Super-Sweet Hundreds – classic, super-sweet, great snacking tomatoes, very prolific. Red Currants –  need to be fully ripe for full flavor, really pretty in some salads, but just not worth the labor to harvest, though amazingly prolific.

Yellow taxi was early.  That is the strongest praise I can give this otherwise low-acid, low-flavor tomato. 

Can’t tell the Amish Paste from the Romas.  A paste is a paste is a paste – but always good, especially for cooking and canning.

The Nyagous, another “black tomato” also has that umami, that mysterious rich flavor.  The Indigo Rose tomato did not win my heart.  It is fully black when unripe, then goes to green, then red.  It spends too much effort on changing color, not enough on developing flavor.  We won’t plant it again.

There comes a point in the tomato harvest when we are doing less tasting and comparing varieties and more thinking about how and when to preserve.  That’s where I am right now.  Since I am doing a lot of demos and classes on making pickles, mostly I am throwing the tomatoes into bags and freezing – to be cooked into salsas and sauces when I have the time.

Here’s a favorite canned salsa recipe.  It’s from The Pickled Pantry, and I’ll be taking it to some of my tastings and demos.  It has been a house favorite for years!  I made more today.


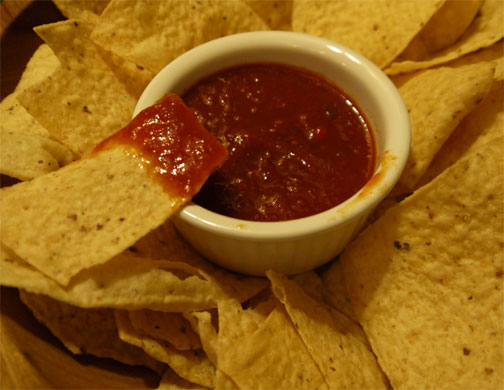
Salsa and chips

Chipotle SalsaMakes 4 to 6 pints
Chipotle chiles (smoke-dried jalapenos) add a lick of fire to this otherwise simple salsa.

24 cups quartered ripe tomatoes8 garlic cloves, peeled and left whole2 to 4 chipotle chiles2 cups distilled white vinegar2 onions, finely minced1 cup finely minced fresh green chiles1 cup finely minced sweet bell pepperSalt

1.  Combine the tomatoes, white vinegar, and chipotles in a large saucepan and bring to a boil.  Reduce the heat and simmer until the tomatoes are very soft, stirring occasionally, about 45 minutes.

2.  Process the tomato mixture through a food mill, discarding the seeds and skins.

3.  Return the strained mixture to the saucepan and add the onions, fresh chiles, and bell pepper.  Boil gently until the salsa has reduced to a nice thick sauce, 1 to 2 hours.  Season to taste with salt.

4.  Ladle the hot salsa into clean hot pint jars, leaving 1/2-inch headspace.  Remove any air bubbles and seal.  

5. Process in a boiling water bath for 15 minutes, according to the directions for canning on page 000.  Let cool undisturbed for 12 hours.  Store in a cool dry place.

Kitchen Notes
* For a milder salsa, remove the seeds of the chipotle and fresh chiles before adding to the salsa. 
* Your yield will vary depending on the juiciness of the tomatoes.  Plum tomatoes tend to yield more than salad tomatoes because they have a higher flesh to juice ratio.
Recipe adapted from The Pickled Pantry by Andrea Chesman.  ©2012 Andrea Chesman.  All rights reserved.