I taught a class on food preservation this summer at Sterling College and one of the things that had my students stumped was the idea of putting on the screwbands on the canning jars just "finger-tight."

Applying the SureTight Band Tool
"Finger-tight"—the term is courtesy the National Center for Food Preservation (the ultimate authority on food preservation)—is something of a misnomer. I suppose they chose the term to distinguish it from Ninja-tight or "plumbing-tight" but it implies a certain delicacy when a certain firmness is needed.
If a screwband is applied too tightly on a canning jar, there is the potential that the jar will explode in the canner. But if the screwband is applied too loosely, the contents of the jars can bubble out, deposit food debris on the rims, and prevent a good seal.
Apparently, other people find the term "finger-tight" confusing because Ball Canning has come up with a tool to take the guess work out of it. The tool is called the "Sure Tight Band Tool" and it can be found for between $7 and $15 dollars wherever canning supplies are sold and online. What surprised me about the tool—and I've been canning for years—is how tight "finger tight" is. I think "firm-tight" would be more accurate...
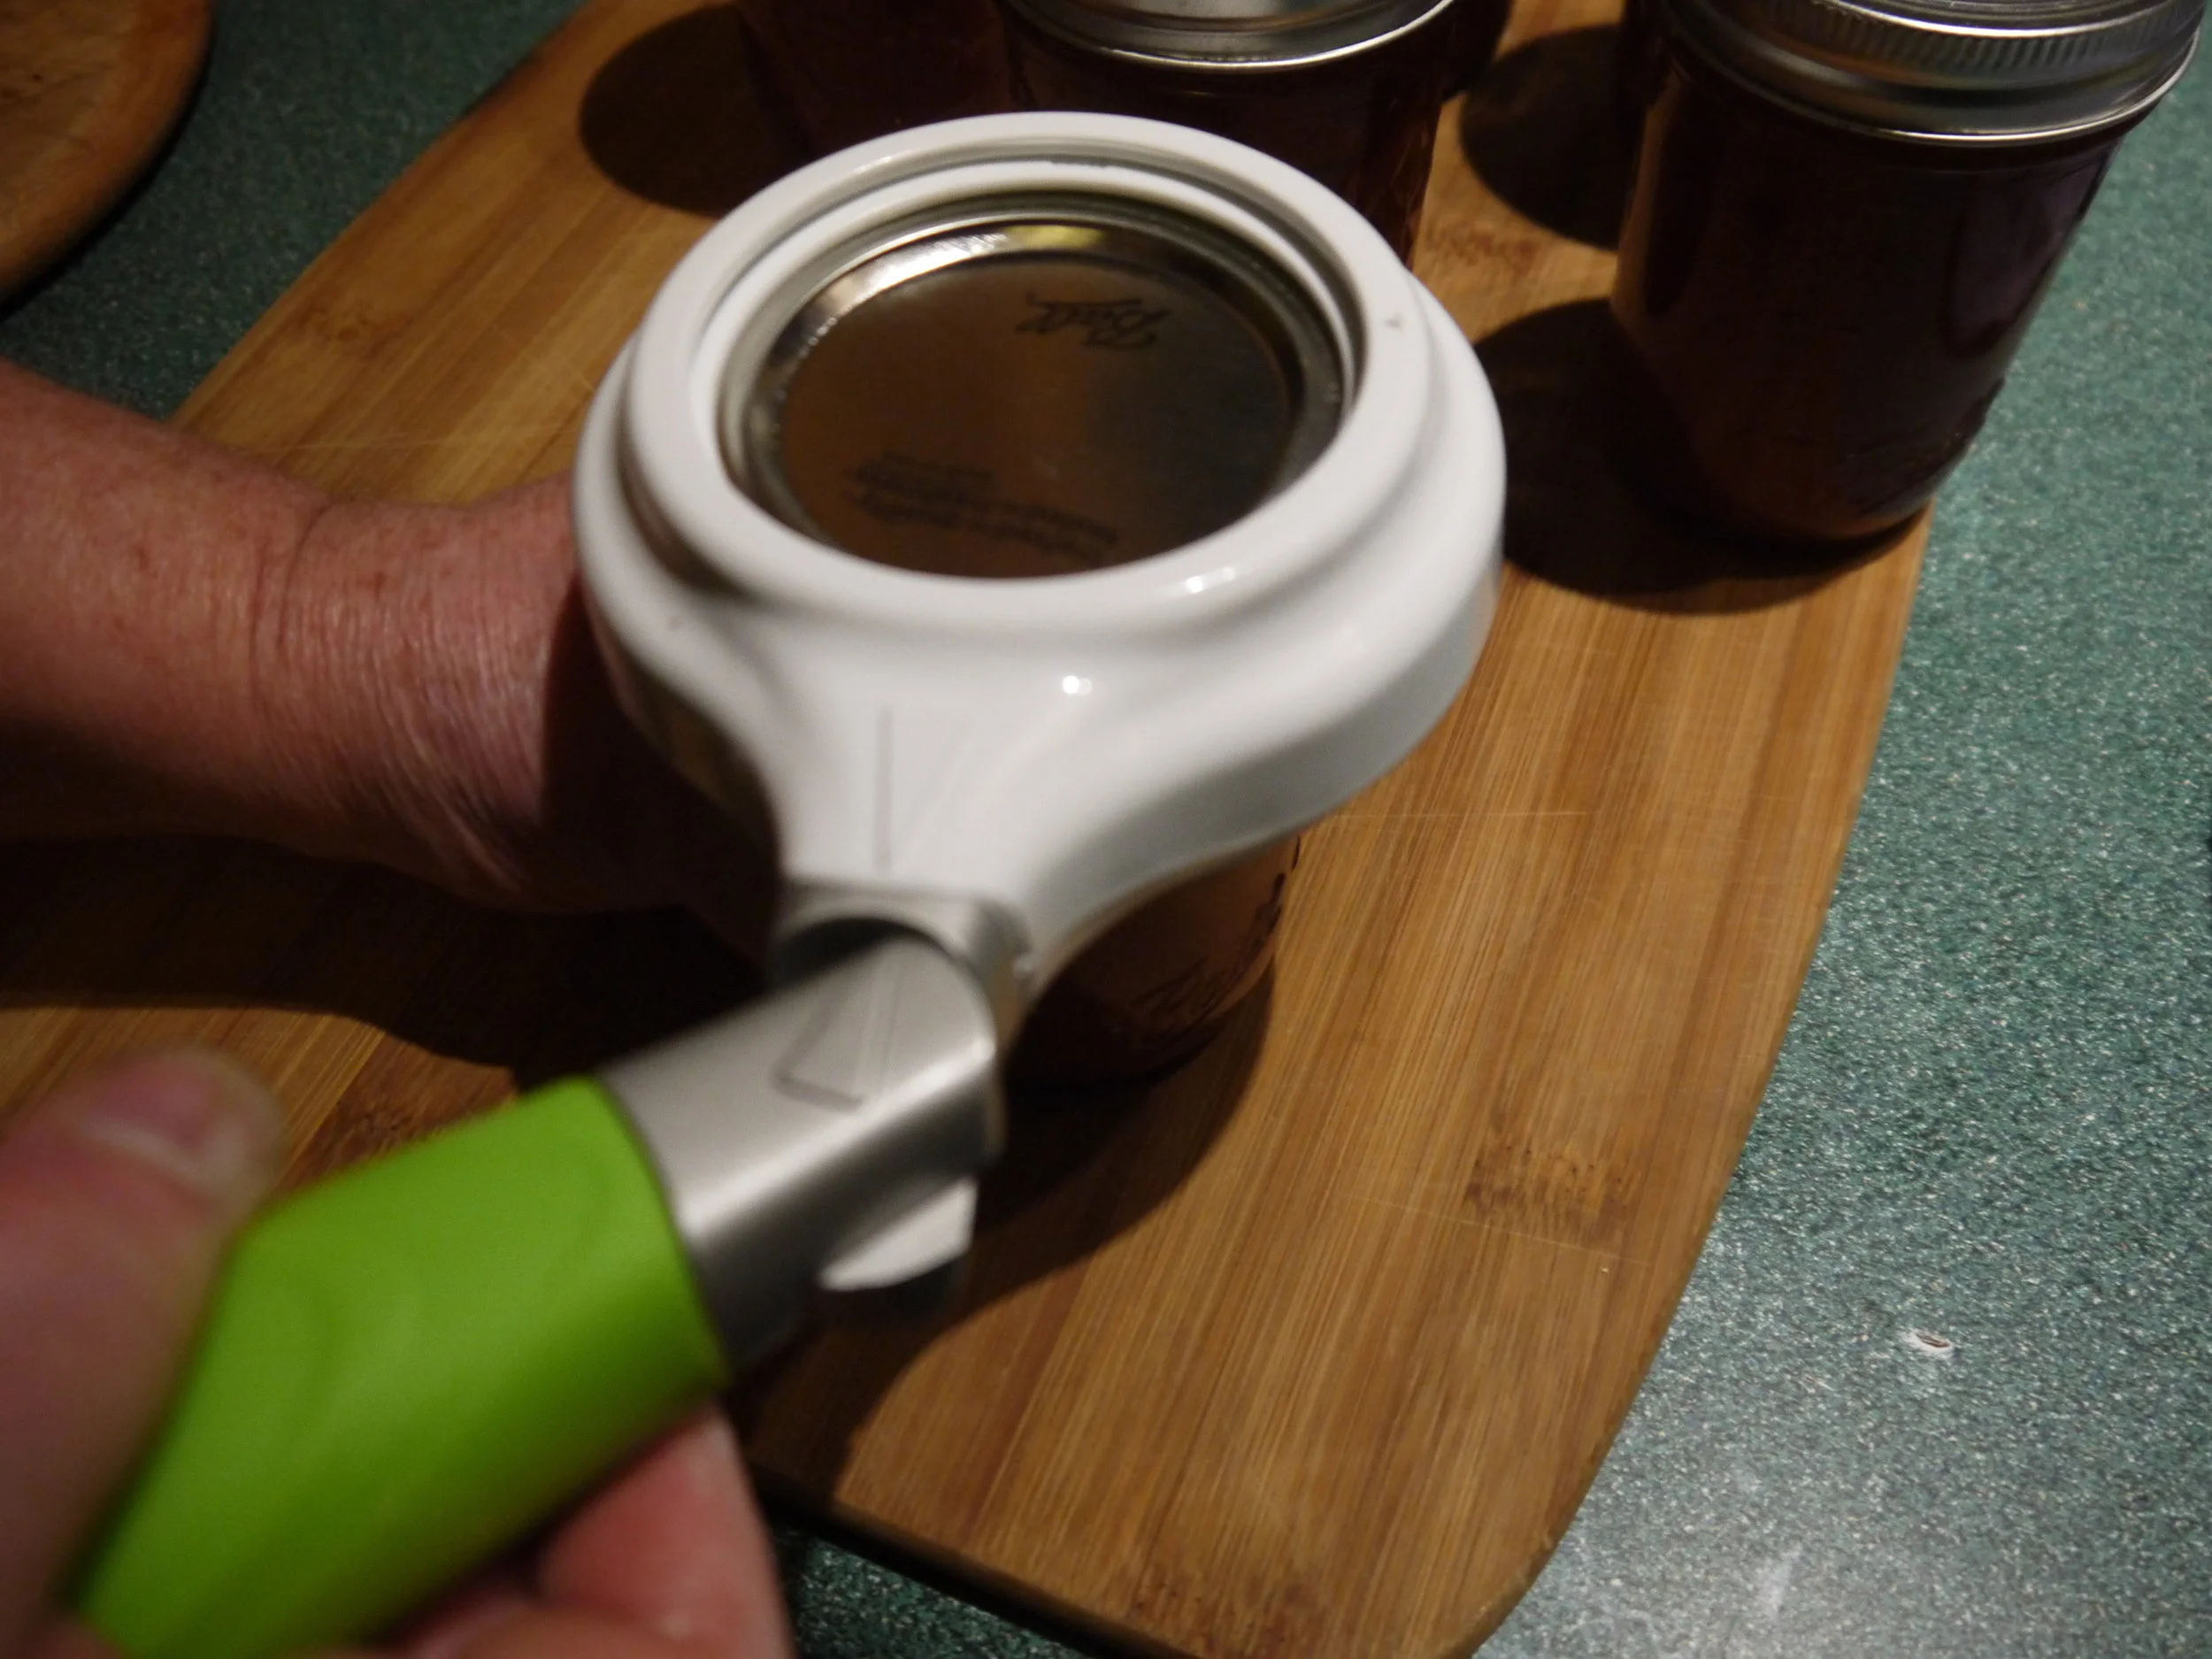
To tighten screwband, turn handle until arrows align.
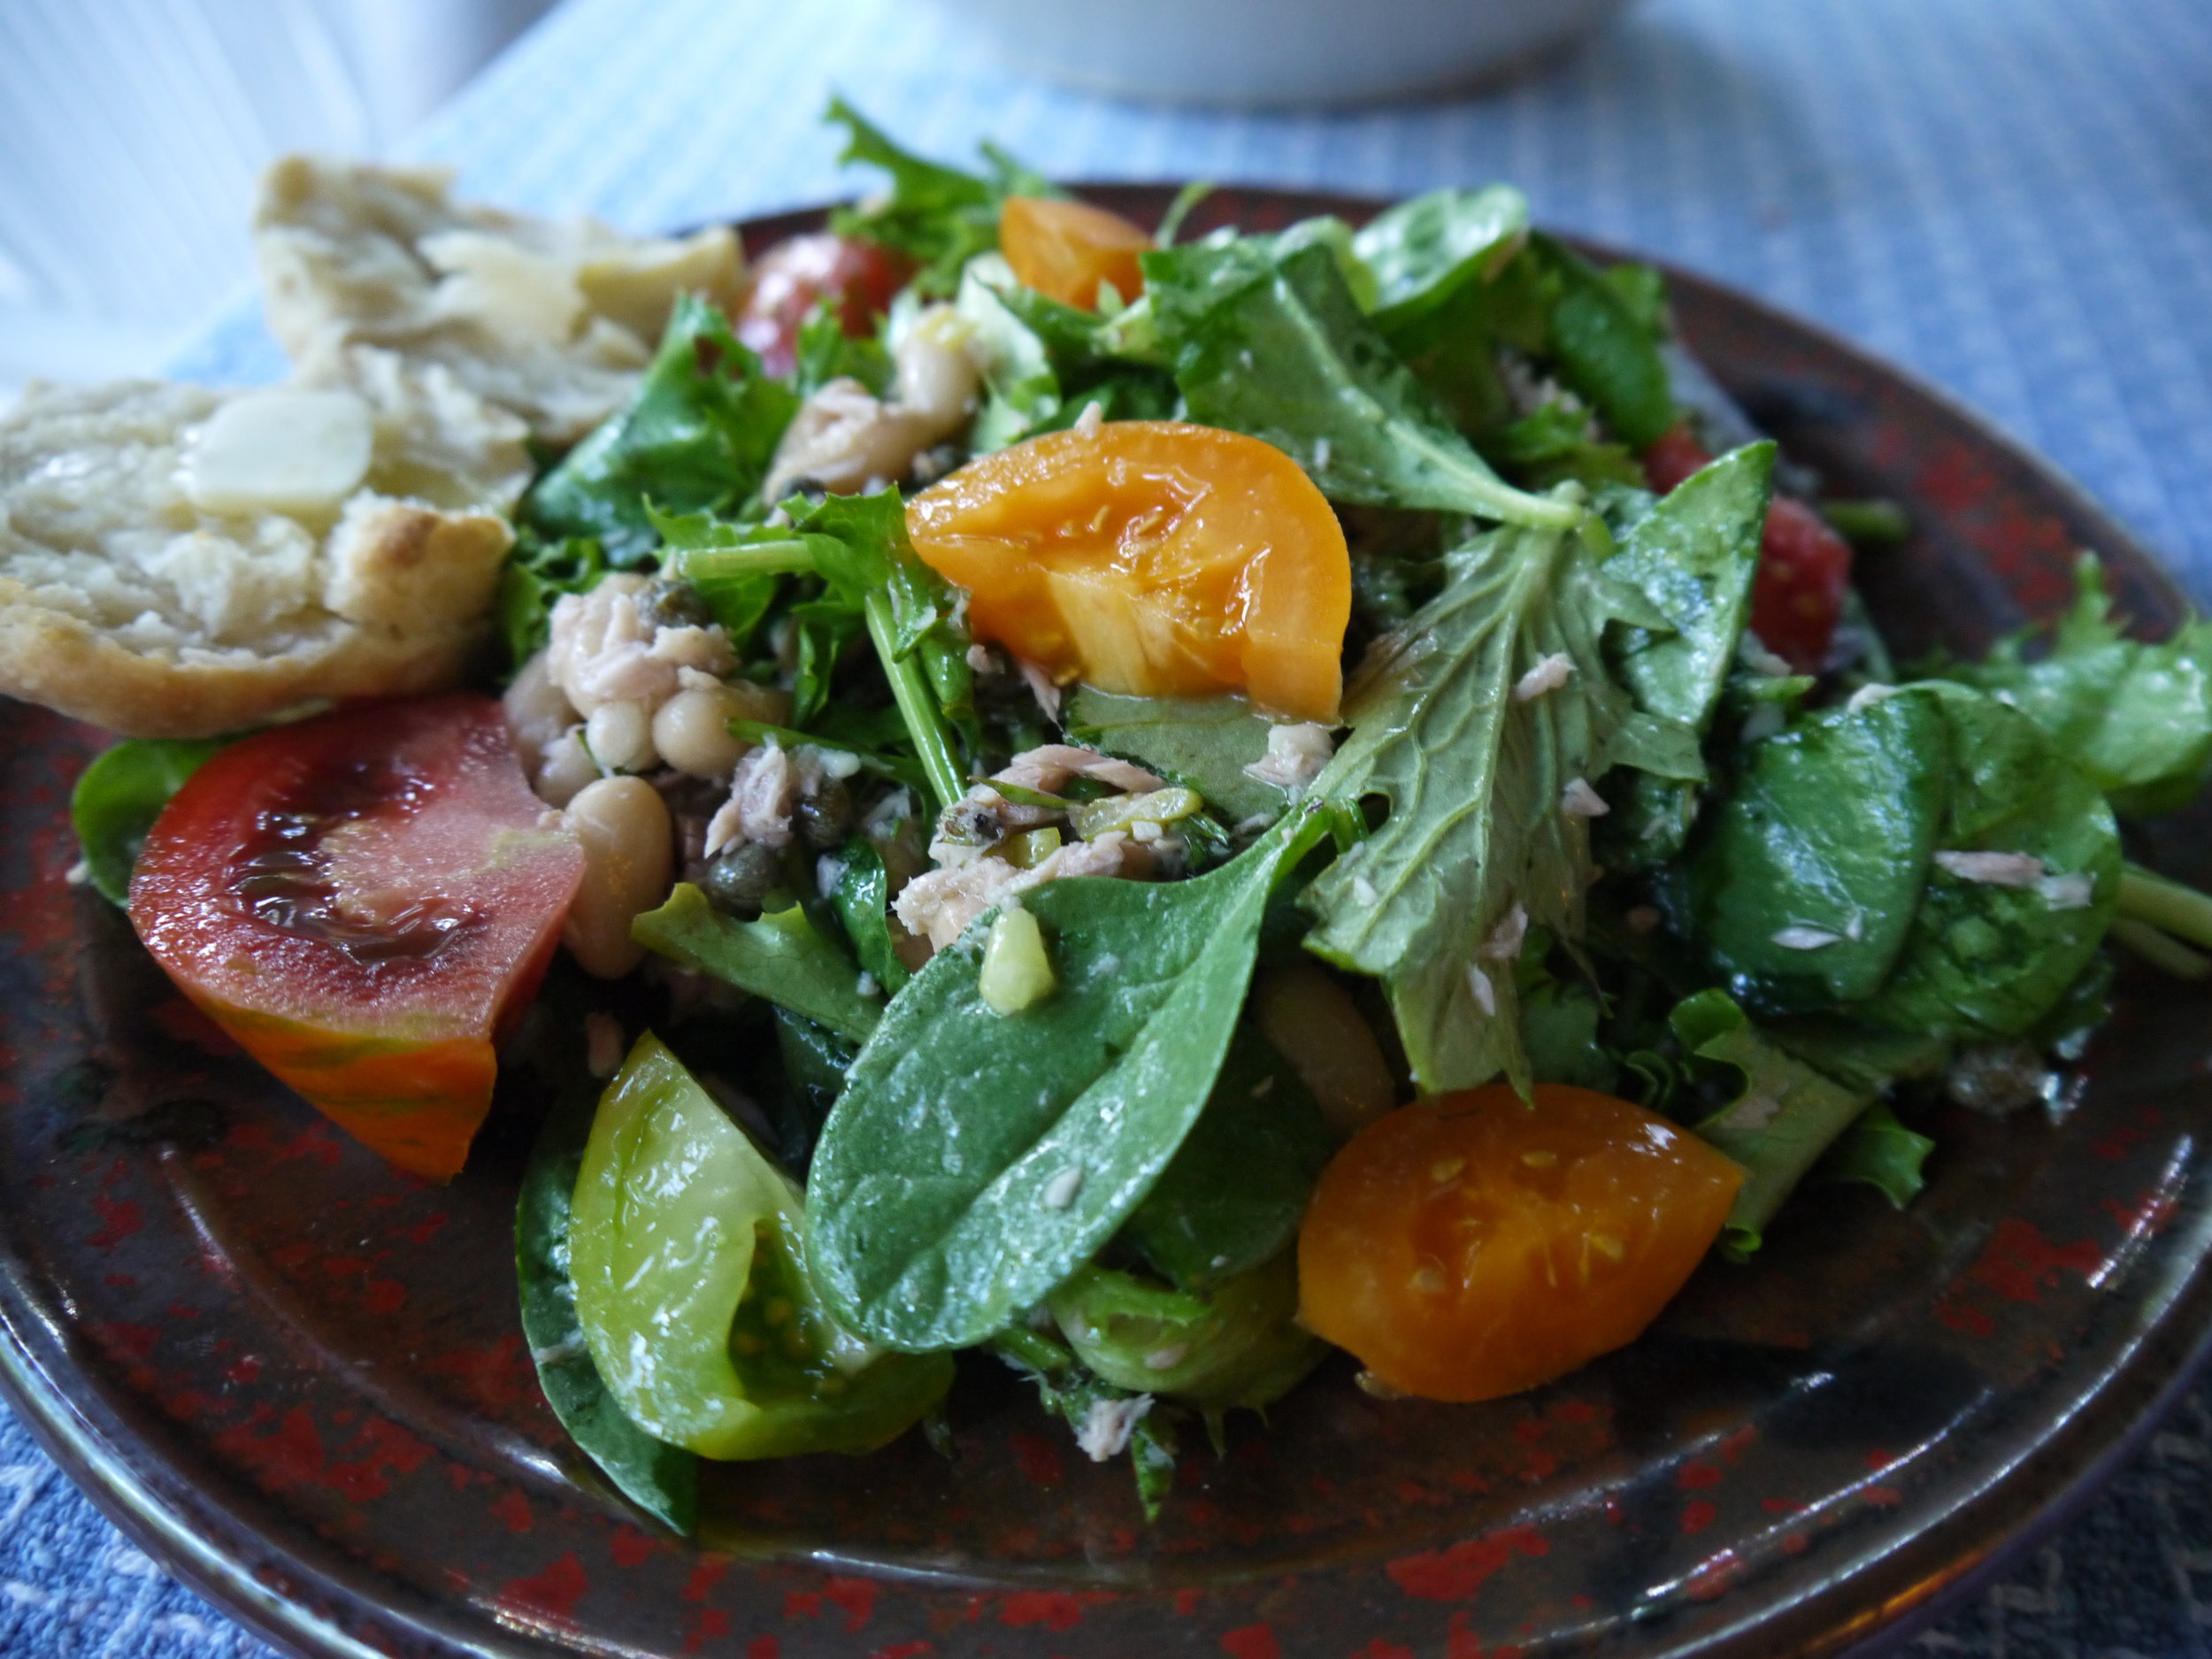
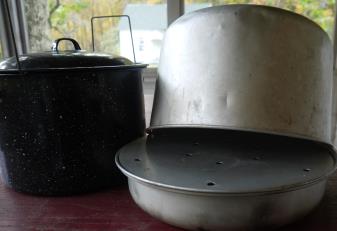
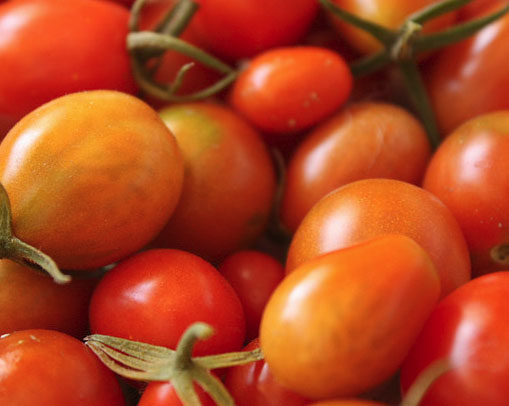
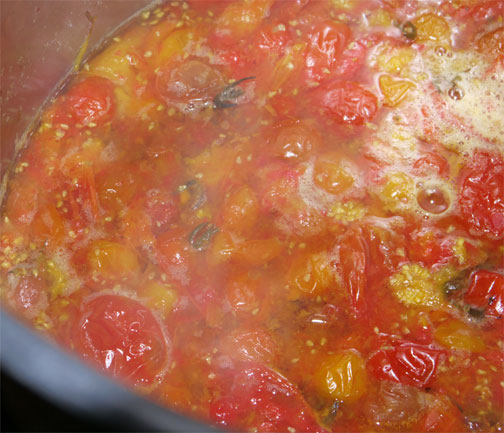
In any case, this is the time of year I when I can tomatoes, when the kitchen is cooled off (and before my freezer fills with a half pig share). My tomatoes were dumped into jumbo plastic bags and unceremoniously frozen last summer. I dump the tomatoes still frozen into a stockpot and cook them down into puree or paste.

Just dump the frozen tomatoes into a stock pot and begin cooking.
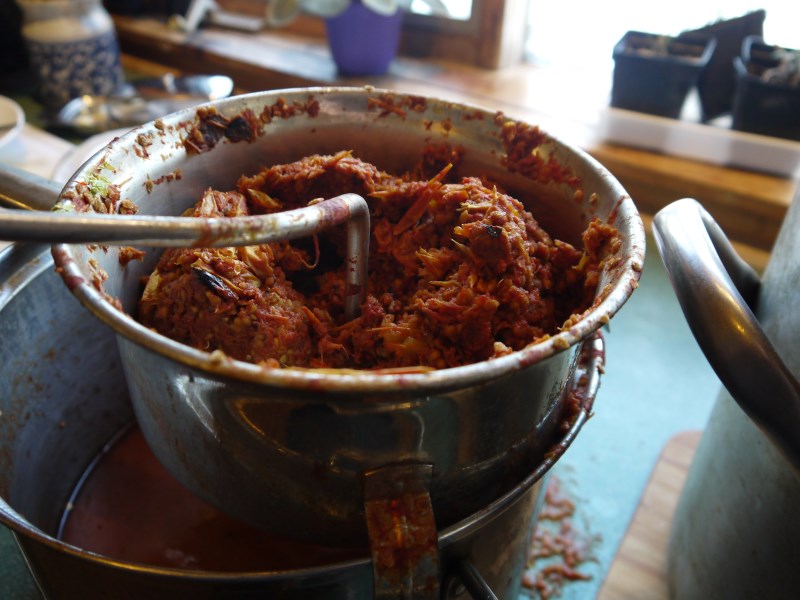
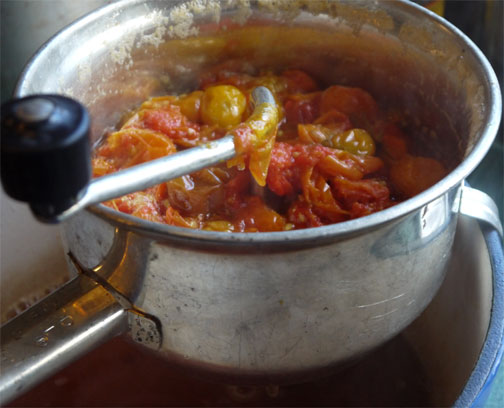
After the tomatoes have cooked down, strain out the seeds and skin.
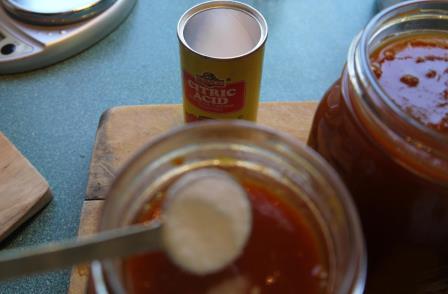
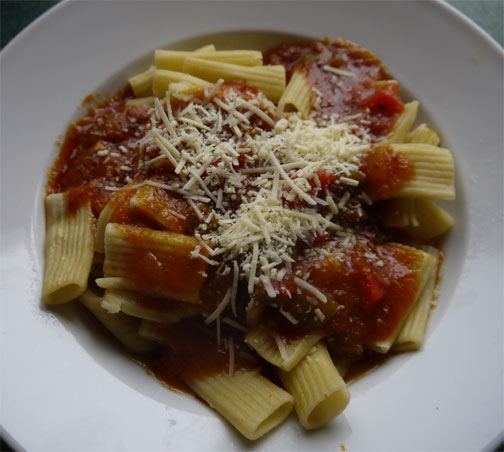
For my most recent batch, I made paste, cooking down the strained puree in an uncovered stockpot for about 16 hours, until a spoon leaves a trail when the paste is stirred. Per USDA instructions, I added 1 teaspoon of citric acid.
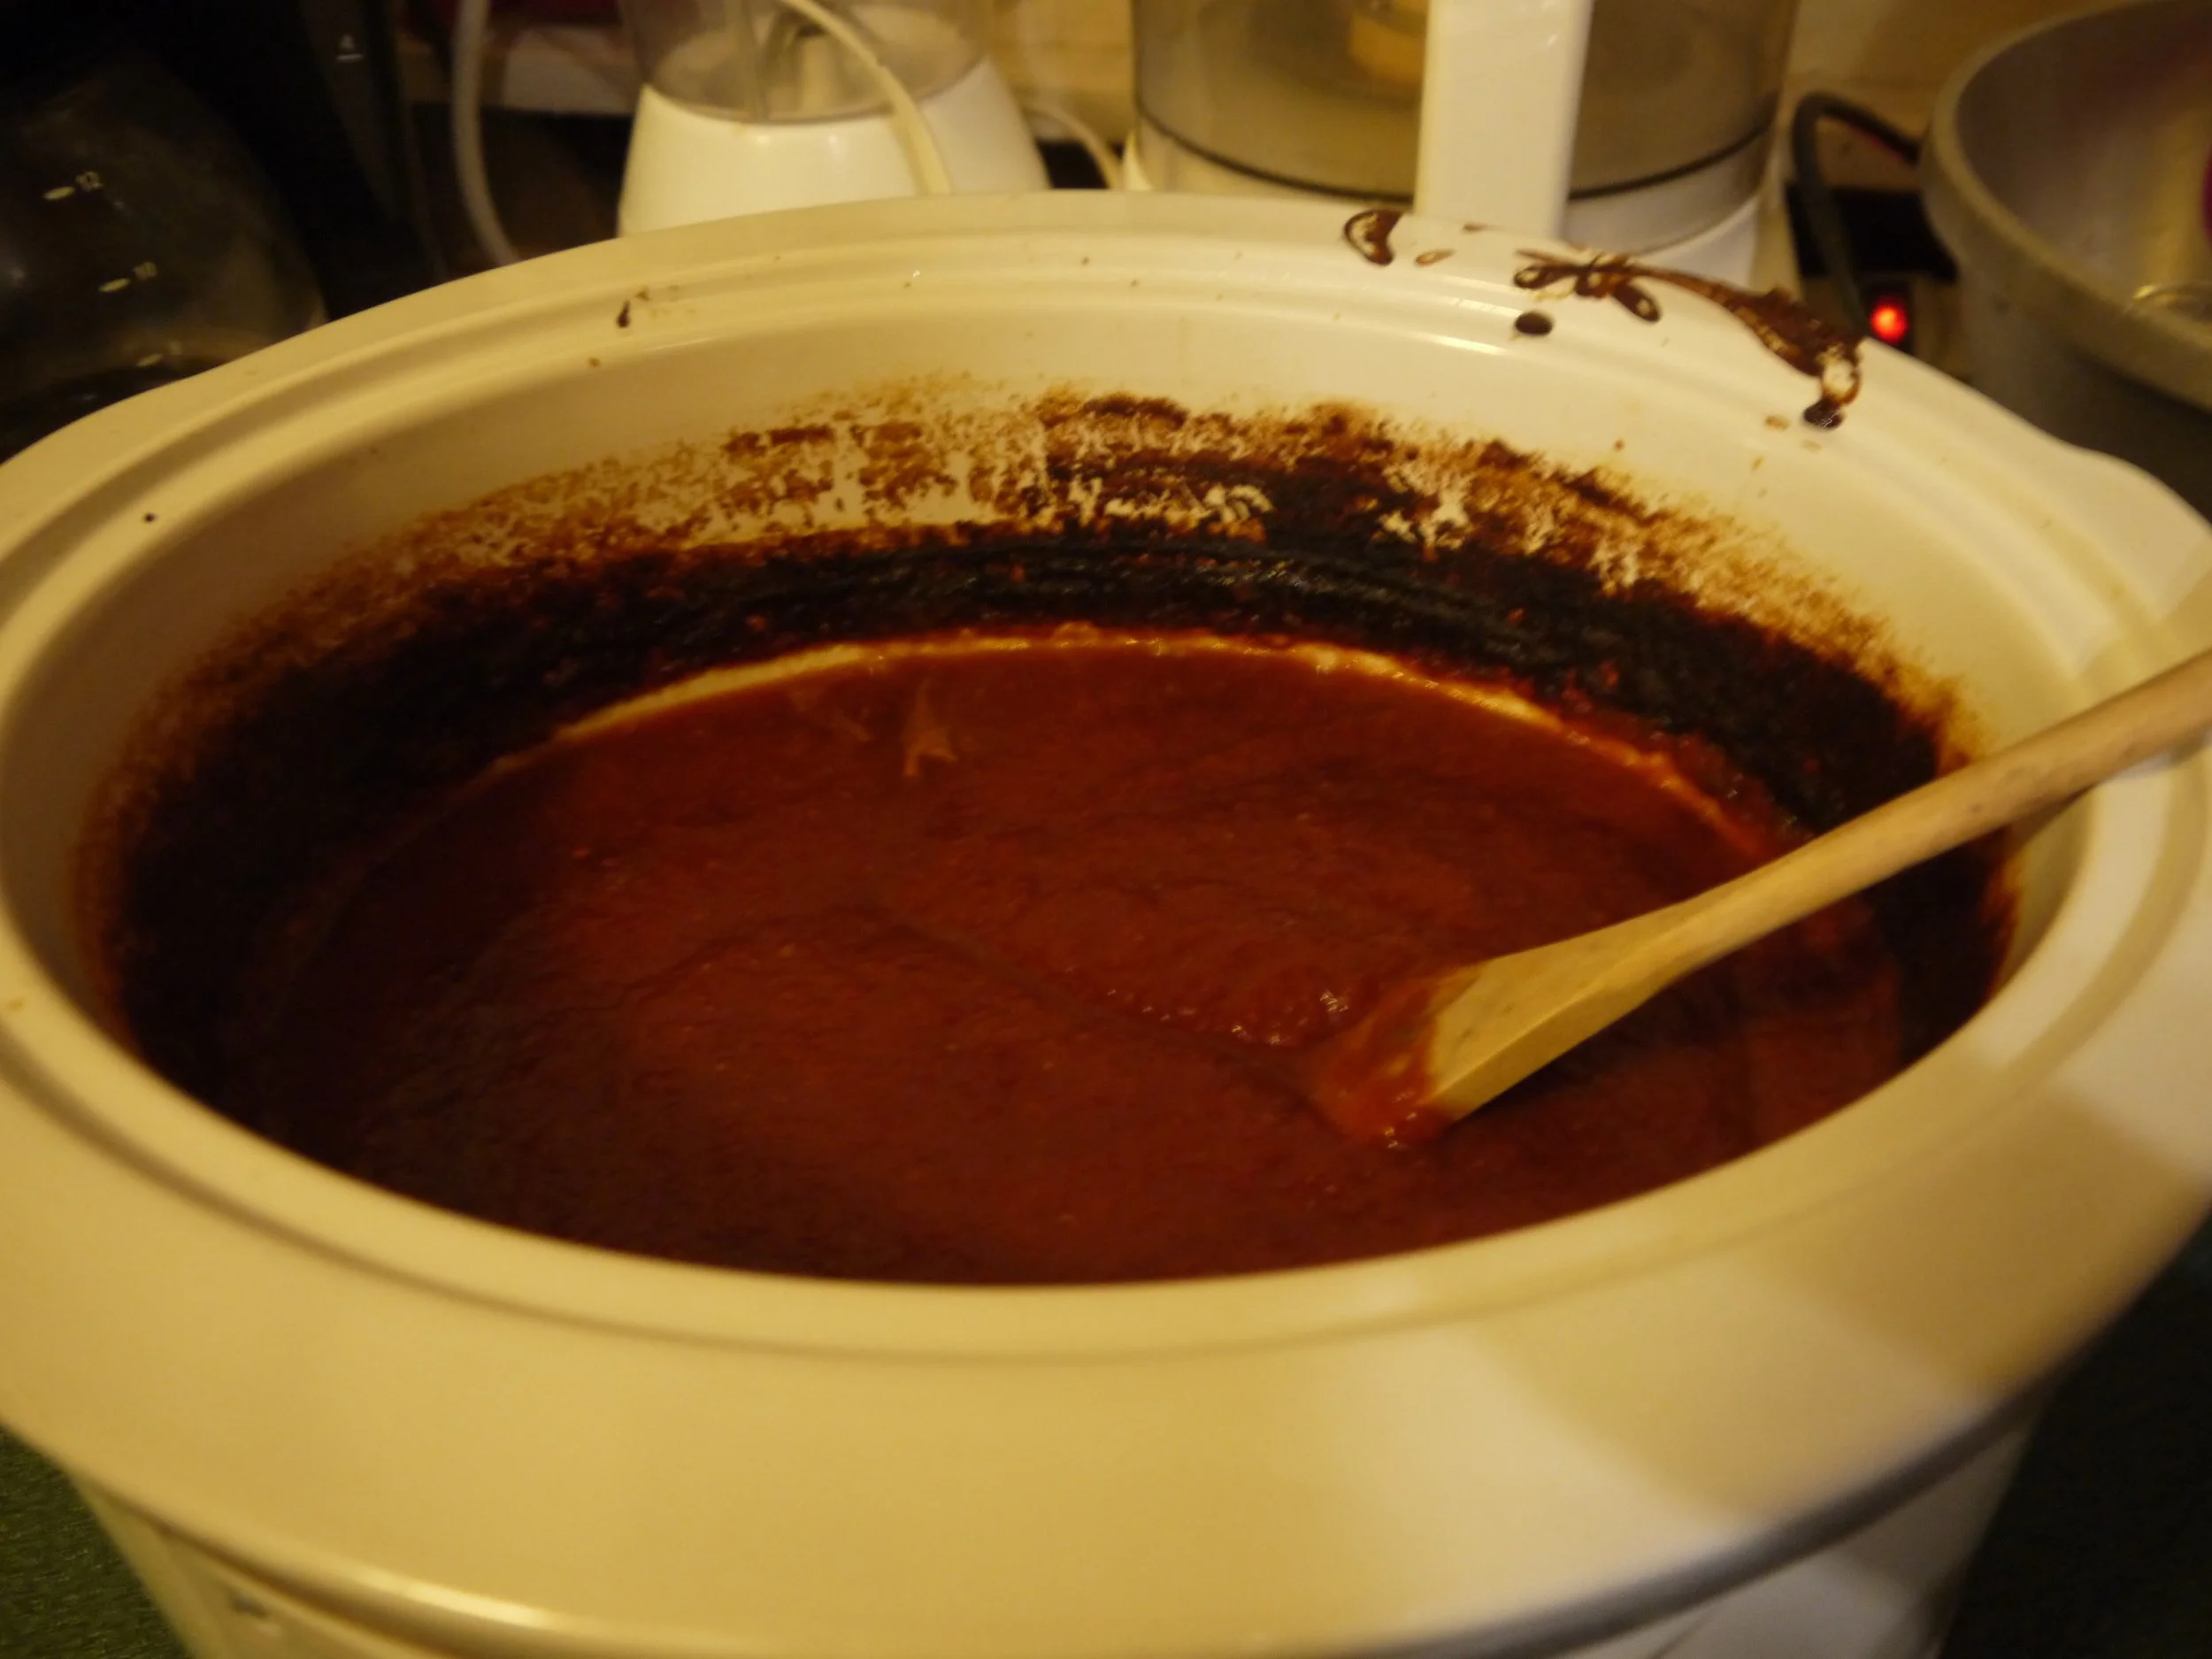
Cook down the puree until a spoon will leave a trail. A slow cooker ensures the paste doesn't burn -- and it is easier to clean than it looks.
The formula is 14 pounds of tomatoes, cooked down to 8 or 9 half pint jars, with 1 teaspoon of citric acid. I poured the paste into canning jars, leaving 1/2-inch head space and sealed the jars with my new band-tightening tool. Then I processed the paste for 45 minutes.
And every jar sealed.