Andrea Chesman

Celebrating Lard and Natural Animal Fats

AC with leaf lard 2.JPG

I’ve just joined Healthy Fats Coalition in time to celebrate the first annual National Lard Day, a celebration of pure lard, a traditional, authentic animal fat that is now enjoying a resurgence within America’s food culture and in home kitchens.

National Lard Day is the brainchild of the Healthy Fats Coalition, a group of like-minded organizations, companies and individuals that have developed an educational initiative dedicated to the proposition that healthy fats aren’t merely having a moment – they’re here to stay, as an essential part of the American diet. The HFC’s mission is simple: affirm that animal fats deserve a central place in kitchen, on the table and in the popular imagination.

“Fat is the soul of flavor,” wrote Nina Teicholz in her groundbreaking book, Big Fat Surprise (Simon & Schuster, 2014). “Food is tasteless and cooking nearly impossible without fat. Fat is essential in the kitchen to produce crispness and to thicken sauces. It is crucial in conveying flavors. It makes baked goods flaky, moist, and light. And fat has many other essential functions in cooking and baking.”

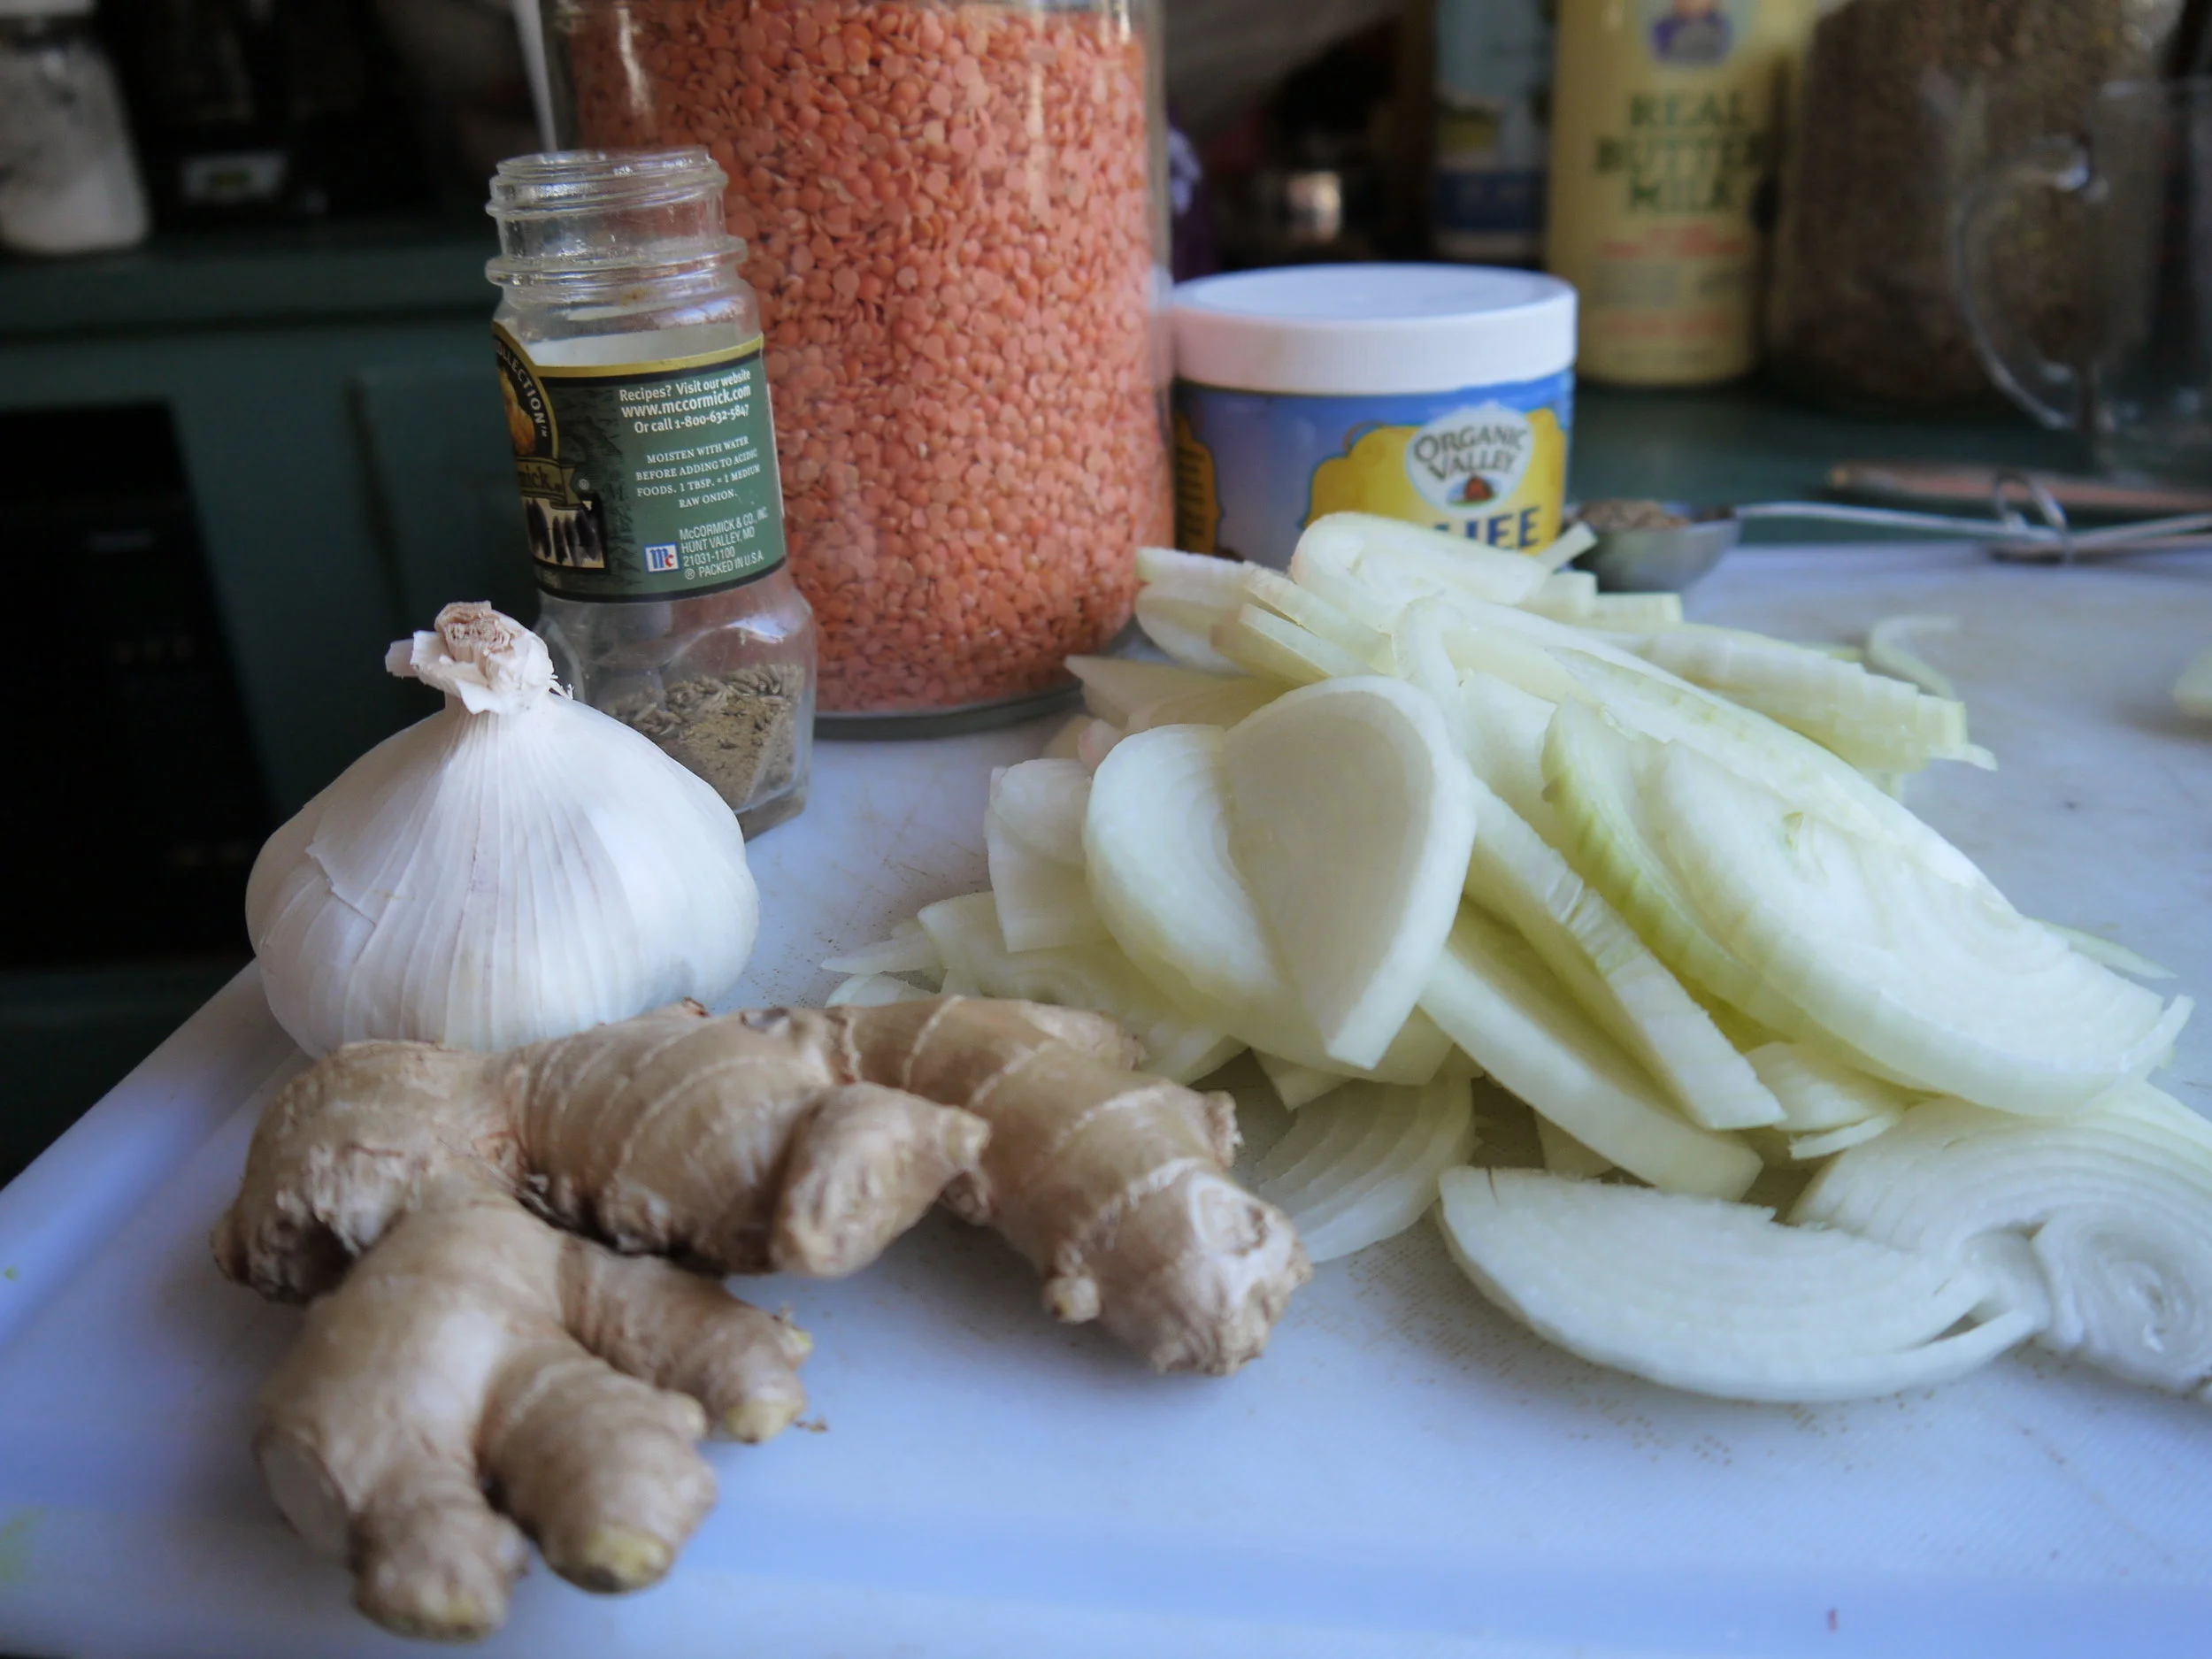
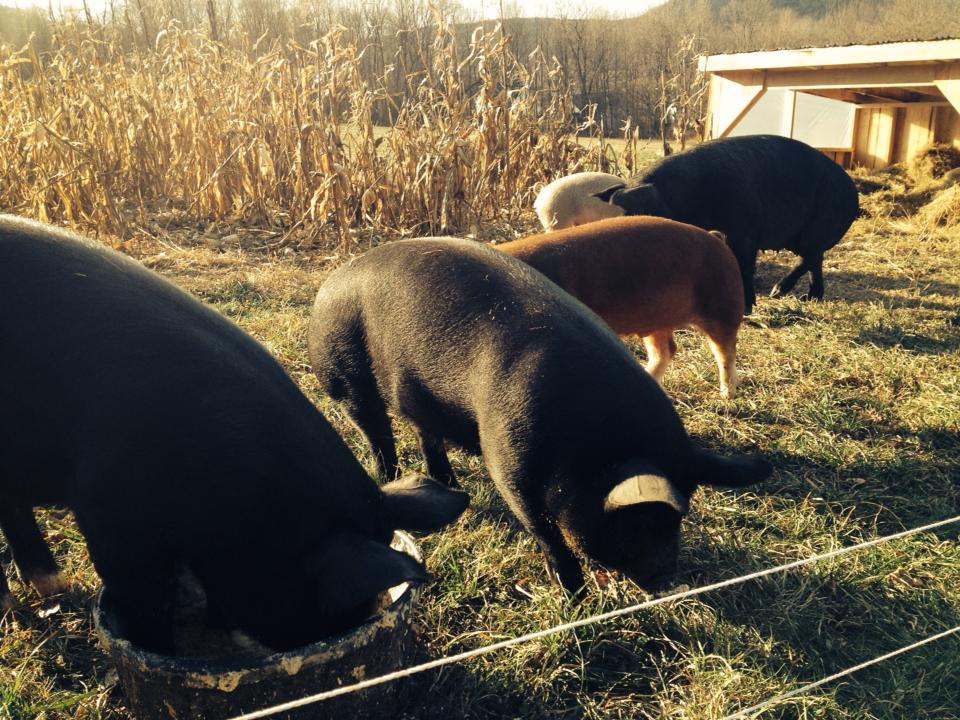
While writing The Backyard Homestead Book of Kitchen Know-How, I started working with animal fats because people who raise their own meat animals are blessed with an abundance of animal fats and I wanted to learn how to work with them. I discovered that the fats contribute great flavor in the case of poultry fats and great texture in the case of all animal fats. Now I love working with animal fats and I’m happy to share the love.

Rendered leaf lard is great in cookies, as long as the lard has been rendered so it is neutral in flavor. I just made a batch of Polvorones, a lard-based cookie from Spain. The recipe originates from a point in the Spanish Inquisition when it was illegal to make these cookies with anything but lard (to smoke out Jews and Muslims, who were prohibited to eat pork by their religions). If that history weirds you out, but all means, call these cookies by one of their other American names, including  snow balls, moldy mice, sandies, sand tarts, or butterballs.  Or call them biscochitos (as they do in Mexico), tea cakes (as they do in Sweden and Russia), dandulas kiflik (as in Bulgaria), biscochos (as in Cuba), des kourabi (as in Greece) or rohlichky (as in the Ukraine). They were also called polvorones in Italy.  A cookie so widely adopted, and so thoroughly time-tested must be good, and it is.  It is! 

Melt-in-your-mouth Polvorones

Melt-in-your-mouth Polvorones

 1 cup pecans, walnuts, or hazelnuts

1 cup lard (200g/7 ounces), at room temperature

2 cups confectioners’ sugar

1/2 teaspoon vanilla extract

2 cups unbleached all-purpose flour

1/2 teaspoon salt

            1. Combine the nuts and 1 cup of the confectioners’ sugar in a food processor. Process until the nuts are finely ground.   Add the lard and vanilla and beat until light and fluffy. Beat in the flour and salt until combined. Cover and refrigerate the dough for about 1 hour or until firm. 

            2. Preheat the oven to 350° F. Line three lard cookie sheets with parchment paper.

            3. Form the dough into 1-inch balls and place 2 inches apart on the prepared cookie sheets.

            4. Bake, one cookie sheet at a time, for about 15 minutes, until the cookies look dry and cracked.  The color will not change much.

            5.  While the cookies are baking, place the remaining 1 cup confectioners’ sugar in a shallow bowl.

            6. Cool the cookies on the parchment sheets for a few minutes. While the cookies are still warm, roll them in the confectioners’ sugar.  Place on a wire rack to cool. 

            7. When the cookies have cooled completely, roll them again in the confectioners’ sugar to give them an even coating of sugar.  Store in an airtight container between sheets of parchment or waxed paper.  They will keep well for at least 1 week.

Chicken and Biscuits with Melissa Pasanen

biscuits.JPG

I’m so excited that Melissa Pasanen will write about the Fat Kitchen for Seven Days! The article will come out on November 14, which just happens to be the pub date when the book goes on sale.

I’m especially pleased because customs has held up the shipment of books that is meant to go out to reviewers and critics. The stores got their allotments, but somehow this one batch of books was flagged for a closer look.

While I don’t doubt that my book deserves a closer look — and some might even consider the idea of returning animal fats to the table a subversive idea—its a darn shame that reviewers aren’t getting the book as promised.

I was able to squeak out one copy for Melissa—that was the first problem solved. Next problem, what do you feed a journalist you want to impress? I started with duck-fat popcorn. As we munched and chatted, I handed her jars of rendered fat that I wanted her to see and smell. No porky, beefy, ducky odors there! But she did detect a note of nuttiness in the bear fat I presented here. “Oh! I’d really like to taste that,” she said.

No problem, I whipped up a little sautéed cauliflower, which was just delicious. Then I got down to the serious business of making chicken fat biscuits to go along with the chicken pot pie filling I had made earlier. Then it was on to an apple tart.

Pastry made with lard is easy to handle.  I filled the free-form tart with duck fat caramelized apples.

Pastry made with lard is easy to handle. I filled the free-form tart with duck fat caramelized apples.


This is the recipe I followed. It’s from The Fat Kitchen, of course!

bird and biscuits 008.jpg

Buttermilk Biscuits made with chicken fat

4 cups fresh or frozen cubed or chopped vegetables, peeled if necessary (see below)

Salt and freshly ground black pepper

6 tablespoons (75g/2.6 ounces) any poultry fat

2 shallots, minced, or 1 leek, thinly sliced

2 garlic cloves, minced (optional)

6 tablespoons unbleached all-purpose flour

4 cups chicken broth

4 cups cooked chicken (or turkey or rabbit)

1 teaspoon dried thyme or 2 teaspoons fresh


1.  Prepare the biscuits according to the recipe directions, but do not bake. .  Place in the refrigerator.

2.  If you are using fresh root vegetables, place in a saucepan, cover with water, and add about 2 teaspoons fine sea salt.  Bring to a boil and boil until just tender, about 10 minutes.  Drain.  If you are using fresh summer vegetables, steam over boiling water until tender, about 5 minutes.  If you are using frozen vegetables, remove from the freezer.

3.  Preheat the oven to 450°F.

4.  To make the creamed chicken, melt the fat in a large saucepan over medium heat.  Add the shallots and garlic, if using, and sauté until fragrant and limp, 3 to 5 minutes.  Sprinkle in the flour and stir until all the flour is wet.  Whisk in the broth and stir until thickened and smooth.  Stir in the chicken, vegetables, and thyme.  Taste and adjust the seasoning with salt and pepper.  Bring to a simmer.  Keep hot while you bake the biscuits.       

5.  Remove the biscuits from the refrigerator.  Bake according to the recipe directions for 15 to 18 minutes, until the biscuits are golden.

6.  To serve, split open one or two biscuits for each serving.  Ladle the chicken and vegetable mixture over the biscuits halves and serve immediately.

Adapted from The Fat Kitchen by Andrea Chesman©Andrea Chesman 2018. All rights Reserved


Zucchini Season Returns!

There are three zucchini growing on this one plant.

There are three zucchini growing on this one plant.

As surely as the sun moves farther south in the sky, zucchini returns in abundance.  I plant only one single zucchini plant, but even one can result in an overabundance. People always ask how to preserve zucchini and I tell them, you can preserve zucchini, but why bother?  Zucchini pickles will always be mushier than cucumber pickles, frozen zucchini slices are too mushy to even consider eating, and grated frozen zucchini is a good only for zucchini breads and cakes.  You can use it to add bulk and moisture, but it won't add anything in the way of flavor and very little in terms of nutrition.

Over the past few years, as I developed recipes using animal fats for my forthcoming book, The Fat Kitchen, I've taken a fresh look at all my favorite recipes and revised any that call for canola oil, which I no longer stock.  Olive oil or melted butter works fine as the fat in the recipe below, and keeps it vegetarian.  But -- and this should not be a surprise for anyone who is familiar with cooking with it -- duck fat, chicken fat, and bacon fat are all delicious here.

June 5 Zucchini Season is Here! 007.jpg

Zucchini Cheese Squares

My kids love these “zucchini pillows.”  The texture is softer than a bread and denser than a soufflé, with just the trace of crunch from the onions.  It makes a great side dish, especially on a picnic, where the squares can be eaten out of hand.  You can use overgrown zucchini here.

3 cups grated zucchini or other summer squash

2 teaspoons fine sea salt

2 cups grated cheddar cheese

1 onion, diced

1 1/2 cups all-purpose flour 

1 tablespoon baking powder

2 teaspoons fresh thyme leaves or 1/2 teaspoon dried

1 teaspoon freshly ground black pepper

1/2 cup olive oil or melted and cooled butter or other animal fat (duck fat, chicken fat, goose fat,  bacon fat, lard, or tallow).

3 large eggs, beaten

1.  Combine the zucchini and salt in a colander and toss to mix.  Set aside to drain for 30 minutes.  Squeeze out the excess water. 

2.  Preheat the oven to 350° F.  Butter a 7- by 11-inch or 9-inch round baking dish.

3.  In a medium bowl, stir together the flour and baking powder.  Add the zucchini, cheese, thyme, and pepper.  Mix well with a fork, breaking up any clumps of zucchini.  In a small bowl, whisk together the olive oil or fat and eggs.  Pour into the zucchini mixture and mix well.  Spread evenly in the baking dish.

4.  Bake for about 35 minutes, until golden.

5.  Let cool on a wire rack for 5 minutes.  Cut into squares and serve warm or at room temperature.

Adapted from Serving Up the Harvest.  © 2007, 2009 Andrea Chesman.


Simple Lentil Recipes to Add to Your Repertoire

Cooked lentils: brown lentils (top), black beluga lentils (right), red lentils (bottom), French green lentils (left).

Cooked lentils: brown lentils (top), black beluga lentils (right), red lentils (bottom), French green lentils (left).

This is the time of year when menu fatigue sets in—at least in the North, where the snow is still retreating and there is little hope of locally grown vegetables for at least six weeks.  Have you thought about expanding your lentil repertoire to bring new flavors to the dinner table?

            Lentils?  New life?  Aren't lentils boring?

            Hardly.  I recently taught a class on cooking with lentils called "Lentils in Many Languages" because there are so many cuisines to draw from when it comes to making them.

            Lentils originated in the Middle East at least 8000 years ago, maybe even 13,000 years ago.  They spread throughout the Middle East and South Asia soon thereafter.  So of course, there are some delicious Middle Eastern dishes, like Mudjara, which a Syrian friend taught me to make.  All it takes is rice, lentils, onions, and buttermilk, and it becomes one of those dishes that is far greater than the sum of its parts. Mudjara is one of the many, many lentil dishes that is believed to be the porridge for which firstborn Cain (a hunter) in the Bible sold his birthright to Abel (a farmer).  Whether the story is true or not, the dish is good enough to make the story credible.

            There are some 200 varieties of lentils to choose among, not that your local grocer is going to stock them all.  The red, yellow, and pink lentils tend to cook to mush, making them good for soups and purees, like the dahl recipe I have below.  The round French green lentils (lentiles du Puy) and black lentils (also called beluga lentils) hold their shape well, making them perfect for salads. Earthy green or brown lentils are the most common.

            Although I love to try out new recipes from time to time, dishes that don't really require following a recipe precisely are the building blocks of my meal repertoire. Both Mudjara and Dahl are excellent for that purpose – simple dishes that are so foolproof, they can be made without consulting a cookbook.  This may be an odd confession from someone who writes cookbooks, but we are all full of contradictions like these lentil dishes—simple to make but complex in flavor. 

Curried Dahl

Curried Dahl.  Serve as side dish with an Indian meal or make it a main course and serve over rice.

Curried Dahl.  Serve as side dish with an Indian meal or make it a main course and serve over rice.

Serves 4 to 6

2 cups red lentils, chana dal, orange lentils, red lentils, or yellow split peas

6 cups water

1 teaspoon salt, plus more as needed

3 tablespoons ghee, butter, or coconut oil, plus more as needed

1 large onion, halved and thinly sliced

4 garlic cloves, minced

1-inch piece of ginger, peeled and minced

1 tablespoon cumin seeds

Chopped cilantro to garnish (optional)

            1.  Combine the lentils, water, and salt in a medium saucepan and bring to a boil.  Cover, reduce the heat, and boil gently until the lentils are completely tender, 30 to 40 minutes.

            2.  Meanwhile, heat the ghee in a small skillet over medium heat.  Add the onion, garlic, ginger, and cumin and sauté until the onions are golden, about 10 minutes.  Keep warm.

            3.  When the lentils are completely tender, stir the onion mixture into the lentils and continue stirring until the lentils are creamy.  If the mixture is too loose, increase the heat and let boil until the mixture thickens to a pleasing texture.  The lentils are done when they have the consistency of creamed corn.  Taste and add salt if needed.  Add more ghee for a richer, more luxurious dish.  Garnish with cilantro.

Just six ingredients make up this dish.  Note how the red lentils turn yellow when cooked.

Just six ingredients make up this dish.  Note how the red lentils turn yellow when cooked.


Adapted from Recipes from the Root Cellar by Andrea Chesman.  ©2010 Andrea Chesman.  All rights reserved.


Mudjara

Serves 4

Not most beautiful dish in the world, so a colorful salad is a good accompaniment.

Not most beautiful dish in the world, so a colorful salad is a good accompaniment.

            A Syrian rice and lentil classic, this dish has as many variations as it has spellings, including mjudra, mujadra, and mejadra.

1 cup dried green or brown lentils, rinsed

Salt

Water

1 1/2 cups uncooked brown rice

1/2 teaspoon salt

3 tablespoons extra-virgin olive oil

3 large onions, halved and thinly sliced

4 garlic cloves, minced

1 1/4 cups buttermilk

Freshly ground black pepper

            1. In a medium-size saucepan, cover the lentils with water by about 3 inches and add 1/2 teaspoon salt.  Bring to a boil, then reduce the heat to a gentle boil, and cook until the lentils are tender but still hold their shape, about 25 minutes.  Drain and rinse the lentils with hot water.

            2. Meanwhile, combine the rice, 1/2 teaspoon salt, and 3 1/4 cups water. Bring to a boil, then reduce the heat to a simmer, and cook until the rice is tender and the water absorbed, about 30 minutes.

            3. While the rice and lentils cook, heat the olive oil over medium-low heat in a large saucepan.  Add the onions and cook, stirring frequently until the onions are golden, about 10 minutes.

            4. Add the cooked lentils and rice to the onions.  Add the buttermilk to moisten and bind the mixture.  Season to taste with salt and pepper.  Serve warm or at room temperature.

A few simple ingredients, plus rice, make this dish greater than the sum of its parts.

A few simple ingredients, plus rice, make this dish greater than the sum of its parts.

Adapted from Recipes from the Root Cellar by Andrea Chesman.  ©2010 Andrea Chesman.  All rights reserved.


Better Latkes

The perfect latke is crisp, not greasy, is golden brown on the outside and snowy white inside.

The perfect latke is crisp, not greasy, is golden brown on the outside and snowy white inside.


            Bring out the latkes: Hanukah is coming.  For most people, said latkes, grayish, greasy pancakes slathered with sour cream and applesauce are beloved just because they remind them of home.  But what if your latkes could be brown on the outside, snowy white on the inside, and not at all greasy?  I'm here to help you make your latkes (potato pancakes to non-Jews) perfect.                                                         

            The Jewish holiday of Hanukah—the Jewish festival of lights—runs from December 12 to December 20 this year.  It is a holiday that celebrates a miracle after the destruction of the Temple in Jerusalem when the flame of the eternal lamp burned for eight days until more oil could arrive, even though there was only enough oil in the lamp for one day.  The holiday is traditional celebrated with candle lighting and eating fried foods.

            Back in the old country, this was the time of year when a goose would be slaughtered to provide the cooking oil.  Geese were the poultry of choice in Eastern Europe, prized for their down, rich meat, and copious amounts of fat.  They were also prized because they could thrive on forage and didn't need shelter from the cold weather.  It was hoped that the goose fat would last long enough to make matzoh balls for the Passover celebration in the spring.  Christian neighbors slaughtered their pigs at the same time, and rendered lard for frying their potato pancakes.

            These days most Americans fry their potato pancakes in vegetable oil, even though chicken fat (schmaltz) or lard is readily available.  This recipe change happened sometime in the 1900s when polyunsaturated vegetable seed oils were touted as "heart healthy."  This lie is more than adequately exposed by Nina Teicholz in The Big Fat Surprise, among others. 

            So scratch the idea that vegetable seed oil frying is better for you than frying in an animal fat.  Beyond the health aspects, vegetable oil seeps into the pancakes in a way that an animal fat does not.  This year, fry your potato pancakes in any rendered animal fat you can get your hands on.  (You can find information on how to render fat in my book The Backyard Homestead Book of Kitchen Know-How or at a blog post I wrote for Mother Earth News: https://www.motherearthnews.com/real-food/goose-fat-is-pure-gold-zbcz1612).

            Making the interior of the latke snowy white is as simple as could be.  Grate the potatoes in a food processor, or by hand on a box grater.  Put the grated potatoes in a bowl of acidulated water (1 tablespoon lemon juice or vinegar to 4 cups water) and swish it around to wash away the starch, which is what browns.  Drain well.

Swish the potatoes in a bowl of acidulated water and drain well.

Swish the potatoes in a bowl of acidulated water and drain well.


            Then take half the potatoes, return them to the food processor, pulse until mostly pureed, and return to the potatoes.  This step ensures you get the denser filling of a potato pancake, not the lacy texture of potatoes rosti.  Add a grated onion (very important!) and eggs to bind. Then fry the potato pancakes in about 1/2 inch of rendered fat.

For the best texture, half the potatoes are coarsely grated, half are almost pureed.

For the best texture, half the potatoes are coarsely grated, half are almost pureed.

            Perfect latkes!  Here's my recipe, adapted slightly from Serving Up the Harvest.

 This year I fried in rendered chicken fat, but any animal fat yields great results!


This year I fried in rendered chicken fat, but any animal fat yields great results!

Potato Latkes

Serves 4 to 6

            Latkes are often mistreated in the kitchen, and the result is a greasy pancake, gray on the inside, soggy throughout.  The perfect latke is crisp on the outside, tender and snowy white on the inside.  There are a few extra steps in my recipe as part of my never-ending quest to get this dish right.

3 pounds russet or baking potatoes, peeled

1 large onion

2 eggs, lightly beaten

2 teaspoons salt

1/4 teaspoon freshly ground black pepper

Any rendered animal fat, for frying

Applesauce and sour cream, to serve


            1.  Coarsely grate the potatoes by hand or in a food processor.

            2.  Transfer the potato mixture to a large bowl filled with acidulated water (1 tablespoon lemon juice or vinegar to 4 cups water).  Swish around with your hands for 1 minute.  Pour into a strainer and drain well.  Place a clean kitchen towel on the counter.  Dump the potatoes onto the towel and pat dry.  This step will keep the potatoes from turning pink, then gray as they are exposed to air.

            3.  In the food processor, grate the onion.  Replace the grating blade with the regular steel blade and pulse the half the potato mixture until finely chopped but not pureed.

            4.  Transfer the potato mixture and the grated potatoes to a large mixing bowl and add the eggs, salt, and pepper, mix well.

            5.  Preheat the oven to 300° F.

            6.  Heat 1 inch of any animal fat in a frying pan over medium-high heat.  Drop the potato mixture, 1/4 cup at a time, into the pan and fry until golden on the bottom, 1 1/2 to 2 minutes.  Turn and fry on the other side, about 1 1/2 minutes. Drain on wire racks.

            7.  Keep the latkes warm in the oven while cooking the remaining batter, but serve as soon as possible.  Pass the applesauce and sour cream at the table.


Preserving Tomatoes and One-Dish Dinners

When preserving tomatoes, you get more bang for your buck with plum tomatoes (meaning more can be put in a jar, but I can a mix of tomatoes, whatever I need to preserve.

When preserving tomatoes, you get more bang for your buck with plum tomatoes (meaning more can be put in a jar, but I can a mix of tomatoes, whatever I need to preserve.

For gardeners who love tomatoes, tomato season is both a joy and a burden.  It's a joy because nothing beats a fresh tomato as a snack, as an add-on to a sandwich, as a quick sauce for pasta, as a side dish, sliced and topped with a drizzle of oil and vinegar and a sprinkling of salt.  As we walk through the garden, we pop cherry tomatoes in our mouths, almost without thinking.

The thinking part does come.  What to do with all those tomatoes?  Whether all those tomatoes will be enjoyed fresh or whether they will be canned, I have a recipe for you.

Cover 101 One-Dish Dinners.JPG

101 One-Dish Dinners is filled with recipes that bring dinner to the table quickly, with a minimum of fuss.  There are a lot of my family favorites contained in those pages, a lot recipes that are streamlined for speed and ease.  These are the recipes that my husband makes when I am out of town and my adult kids make for themselves and their friends. 

The one ingredient that makes a lot of these recipes sing is the tomato—fresh in one-dish salads, canned in soups and stews you might want to make when the weather cools.  In fact, I counted 22 out of 101 recipes that use tomatoes in one form or another. 

So, let's say you might want to make one of these recipes every two weeks or so.  That means you'll want to put up 26 quarts of tomatoes.  But, of course, just about everyone is going to want to make some form of spaghetti—with meat sauce, with sausage, or with a simple tomato sauce—every two weeks, so that's another 26 quarts of sauce or puree you'll need.  Homemade pizza is so much better than the greasy store-bought or delivery pizza, so add another 14 quarts of sauce or puree.  That's 64 quarts of tomato products.  And I haven't even thought about ketchup or salsa yet.

While I am in a calculating mood, let me add that a lot of recipes in 101 One-Dish Dinners and elsewhere call for a 28-ounce can of diced tomatoes.  That's equivalent to a quart of home-canned tomatoes (mine weigh in at anywhere between 25 and 40 ounces, depending on the variety and how much I managed to squish in).  Another way to look at equivalents is that a 28-ounce can holds 3 cups.  So you can drain your home-canned tomatoes (save the juice), measure, and return enough liquid to make 3 cups.  Or just figure that your quart of home-canned tomatoes is equivalent to a 28-ounce can and don't sweat the difference.

Tuscan Tuna Salad with White Beans -- served with a sourdough biscuit from The Backyard Homestead Book of Kitchen-Know-How.

Tuscan Tuna Salad with White Beans -- served with a sourdough biscuit from The Backyard Homestead Book of Kitchen-Know-How.

Now I have to go—I have more tomatoes to can.  And when I'm done, I'll whip up a dinner with a recipe from One-Dish Suppers.  Last night I made a Mediterranean Tuna Salad with White Beans and the night before it was Antipasto Antipasta Salad.  Quick one-dish meals make life so much easier when you are busy.


Steam Canners are Safe to Use!

I have a guilty secret.  For years, I’ve been canning my high-acid foods (pickles, fruit, jams, and tomatoes) in a steam canner—even though the USDA has frowned upon the practice and even though I have taught classes using the boiling water bath canner.  It was a “do as I say, not as I do” practice. 

tomato puree in steam canner.jpg

I use the steam canner to process tomator puree.

Finally, too late to include in my new book, The Backyard Homestead Book of Kitchen Know-How, researchers from the University of Wisconsin, Madison, funded by a grant from the USDA and the National Center for Home Food Preservation (NCHFP), have concluded that steam canners (properly called “atmospheric steam canners” to distinguish them from pressure canners which use pressurized steam) can be as safe and effective as water bath canners when properly used to preserve acidified or naturally acidic foods.

Why do I prefer the steam canner to the boiling water bath canner? Because they speed up food processing.

The boiling water bath canner is a large pot with a lid and a rack to hold jars—large canners hold up to 9 quart jars and the small ones hold up to 7 quart jars.  When you heat the water in a boiling water bath canner, you have to bring at least 5 quarts of water up to a simmering temperature.  Then add your jars and wait for the water to come to a boiling temperature, adding even more water if needed to cover the jars with at least 1 inch of water.  This can take 30 to 60 heat-filled minutes, before you even begin processing, depending on the size of your canner, whether the jars were hot-packed or raw-packed, and the BTU output of your stove.

steam canner and bwb canner.jpg

Heating water is faster in a steam canner than in a boiling water bath.

By contrast, the steam canner is a 2-quart pot with a perforated metal rack for holding jars and a tall dome lid that allows a steady stream of steam to flow around the jars. There is less water to heat and less time spent waiting for the water to heat.  Best of all, pickles are exposed to less heat during steam canning, resulting in crisper pickles.

The University of Wisconsin released guidelines for using steam canners and I am replicated them here.  My remarks are in square brackets.

1. Only steam can foods high in acid, with a pH of 4.6 or below. [[This means pickles, fruit, jams and jellies, and acidified tomatoes—i.e., tomatoes to which you have added 1/2 teaspoon citric acid per quart.]]

adding citric acid.jpg

Adding citric acid to tomatoes acidifies them for safe canning.

2. Always use a research-tested recipe developed for a water bath canner. Acquire recipes from university extension programs or from the NCHFP (NCHFP.UGA.edu). The booklets that accompany steam canners usually don’t provide safe instructions.

3. Heat jars prior to filling them with food and minimize the amount of cooling time that passes prior to processing. You can use half-pint, pint, or quart jars.  [[I set the jars upside down on the canner rack and let them heat as I heat the water in the pot below.  When the water has boiled for about 10 minutes, if I am not ready to can, I turn off the burner, but leave the jars as they are.  They will hold their heat.]]

4. Process jars only after the temperature reaches pure steam at 212 degrees Fahrenheit. Wait to start the processing time until the canner has vented and a full, steady column of steam appears. Monitor the temperature with a thermometer.  [[The dome lid has holes to release the steam.  This is why you can’t adapt another pot to be a steam canner—you need to see that steam escape.]]

5. Modify processing time for elevation — in general, add 5 minutes for each 1,000 feet you’re above sea level in elevation.

6. Only use recipes that require 45 minutes of processing time or less, as the amount of water in the canner may not last any longer. Don’t open the canner to refill the water while processing foods. [[Not a problem at most elevations.  Most pickles and jams require 5 to 10 minutes of processing time.  Acidified tomatoes and tomato purees require 40 minutes.]]

7. Cool the jars in still, ambient air. Cool jars on a rack or towel away from drafts. Don’t place them in the refrigerator to hasten the process.

Prices for steam canners vary widely.  Go for the simplest, least expensive one you can find.  My steam canner is about 35 years old and has been beaten up in suitcases when I take it to demos.  It will last a lifetime.  And remember: It is only good for high-acid foods, like the applesauce I am about to make.

It's applesauce time!

It’s applesauce time!

Watermelon in Vermont and Other News

I am proud to say that I managed to get one really big watermelon from my garden this year.  I know, I know, its no big deal to you valley dwellers, Southerns, and greenhouse growers, but it is a big deal to me.

With the full moon this week, frost has been gently touched my garden.  

I harvested all my eggplant and have turned it into soy-sesame eggplant for the freezer.  I turned my cucumbers in pickles.The cucumbers are sliced, then salted before I put them in jars.

Covering the tomato plants may help me harvest a few more pounds, but most have been bagged up for turning into sauce later.

Gazapacho and fresh salsa have all been made and enjoyed.

It's time to think about starting to clean up the garden.  I gott go.

Skordalia: The Perfect Dip for Vegetables

mixed berries,tomato confit, skordalia 043.JPG

Skordalia with fresh vegetables makes a perfect summer meal.

This is the time of year when supper is easily just a plate of sliced tomatoes drizzled with olive oil and vinegar and another plate of sliced fresh vegetables (carrots, cucumbers, bell peppers) or blanched vegetables (green beans, waxed beans, broccoli).

The vegetables, of course, require a dip.  But not just any dip.  If you tell me your go-to dip for fresh vegetables (crudités) is bottled (or even homemade) ranch dressing, I will tell you are undoubtedly suffering from dip fatigue.

Have you thought about making skordalia—that magical Greek dip of potato, garlic, lemon juice, olive oil, and salt?  It’s vegan, it’s dairy free, it’s easy to make and more delicious than its list of ingredients might make you think—and it’s the perfect way to celebrate a bounteous harvest of garlic.

I love growing garlic. It is planted in the fall, when all hope of more harvests disappears from Northern gardens.  Then it is the first sign of life when the snow retreats.  The July harvest yields a space in the garden for fall crops, like another planting of beans or kale. 

garlic harvested.jpg
Lots and lots of garlic makes skordalia super tasty.

Lots and lots of garlic makes skordalia super tasty.

Be generous with the garlic and mince it as finely as you can.

If you love garlic like I do, you can use a whole bulb of garlic in this recipe for skordalia. Does that scare you?  Keep in mind that Aristophanes, the Greek playwright of Lysistrata fame, wrote that garlic gave courage. Actually, not that much courage is required: the potato and olive oil mellow the garlic, while the fresh lemon juice cuts the richness.  (Don’t make the mistake of using bottled lemon juice—I did that once out of sheer laziness and the flavor was all wrong.)

Make skordalia with high-quality ingredients and it becomes a magical dip greater than the sum of its parts.  It’s a perfect dip for vegetables.

The magic of skordalia is in its silky smooth texture, which you get if you use a stand mixer. My Kitchen Aid was given to my mother as a wedding fgift in 1941.

Skordalia Recipe

Makes about 2 cups

1 1/2 pounds baking or russet potatoes (2 to 4 potatoes), peeled and cut into chunks

6 garlic cloves, very finely minced

1/2 cup extra virgin olive oil

1/3 cup fresh lemon juice (juice of about 2 lemons)

1/2 cup extra-virgin olive oil

Salt

1. Put the potatoes in a small saucepan and cover with salted water.   Bring to a boil and boil until completely tender, about 15 minutes.   Drain well.

2. Transfer the potatoes, garlic, and lemon juice to the bowl of a standing mixer and mash.   Beat over medium speed until the potatoes are smooth.  

3. With the mixer at medium speed, very slowly pour in the oil until the mixture is velvety smooth and the oil has been fully incorporated.

4. Taste and add season with the salt as needed.   Serve at room temperature.

 Recipe is adapted from Serving Up the Harvest.  ©Andrea Chesman, 2004, 2007.  All rights reserved.