Living in a rural community, you never know what opportunities for barter may arrive at your door. A neighbor of mine raised a couple of steers this past year and she offered me 25 pounds of unrendered beef suet from one 600-pound (hanging weight) steer in exchange for some of the rendered fat, which is called tallow. She knew I was interested in cooking with beef fat because of my new cookbook, The Fat Kitchen. Heck, I said, I'll throw in a copy of my book along with the tallow.
I rendered the fat this week. The nice thing about suet (the fat from goats, sheep, and cattle) is that it is so hard, it grates nicely in a chilled food processor. And when you grate the suet into something that looks like the powdered, dried Parmesan cheese that comes out of a green canister, it melts very, very quickly. In fact, grating and rendering the 3-pound batch I made took less time than the clean-up (about 45 minutes). The tricks with using a food processor to grate animal fat are to do it only with suet, a very hard fat (so as not to gum up the works), chill the grating blade well and use the suet straight out of the freezer, and don't force the suet through the blade (don't burn out the motor). You'll need to use muscle to push the suet through, but when you get real resistance, stop. Often you can take several slivers of pieces that didn't go through, turn them 90 degrees, and try again, pushing them so the thin edges meet the blade.

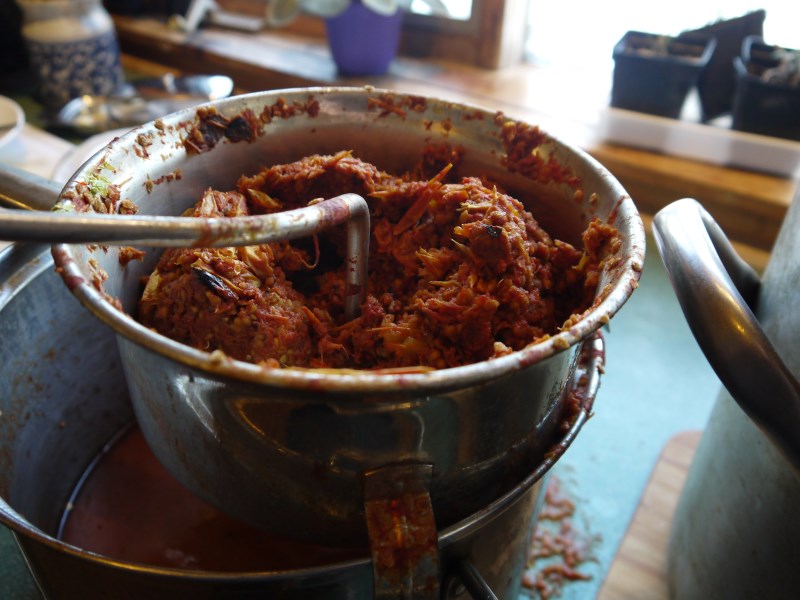
The grated suet looks like grated Parmesan from one of those green canisters.
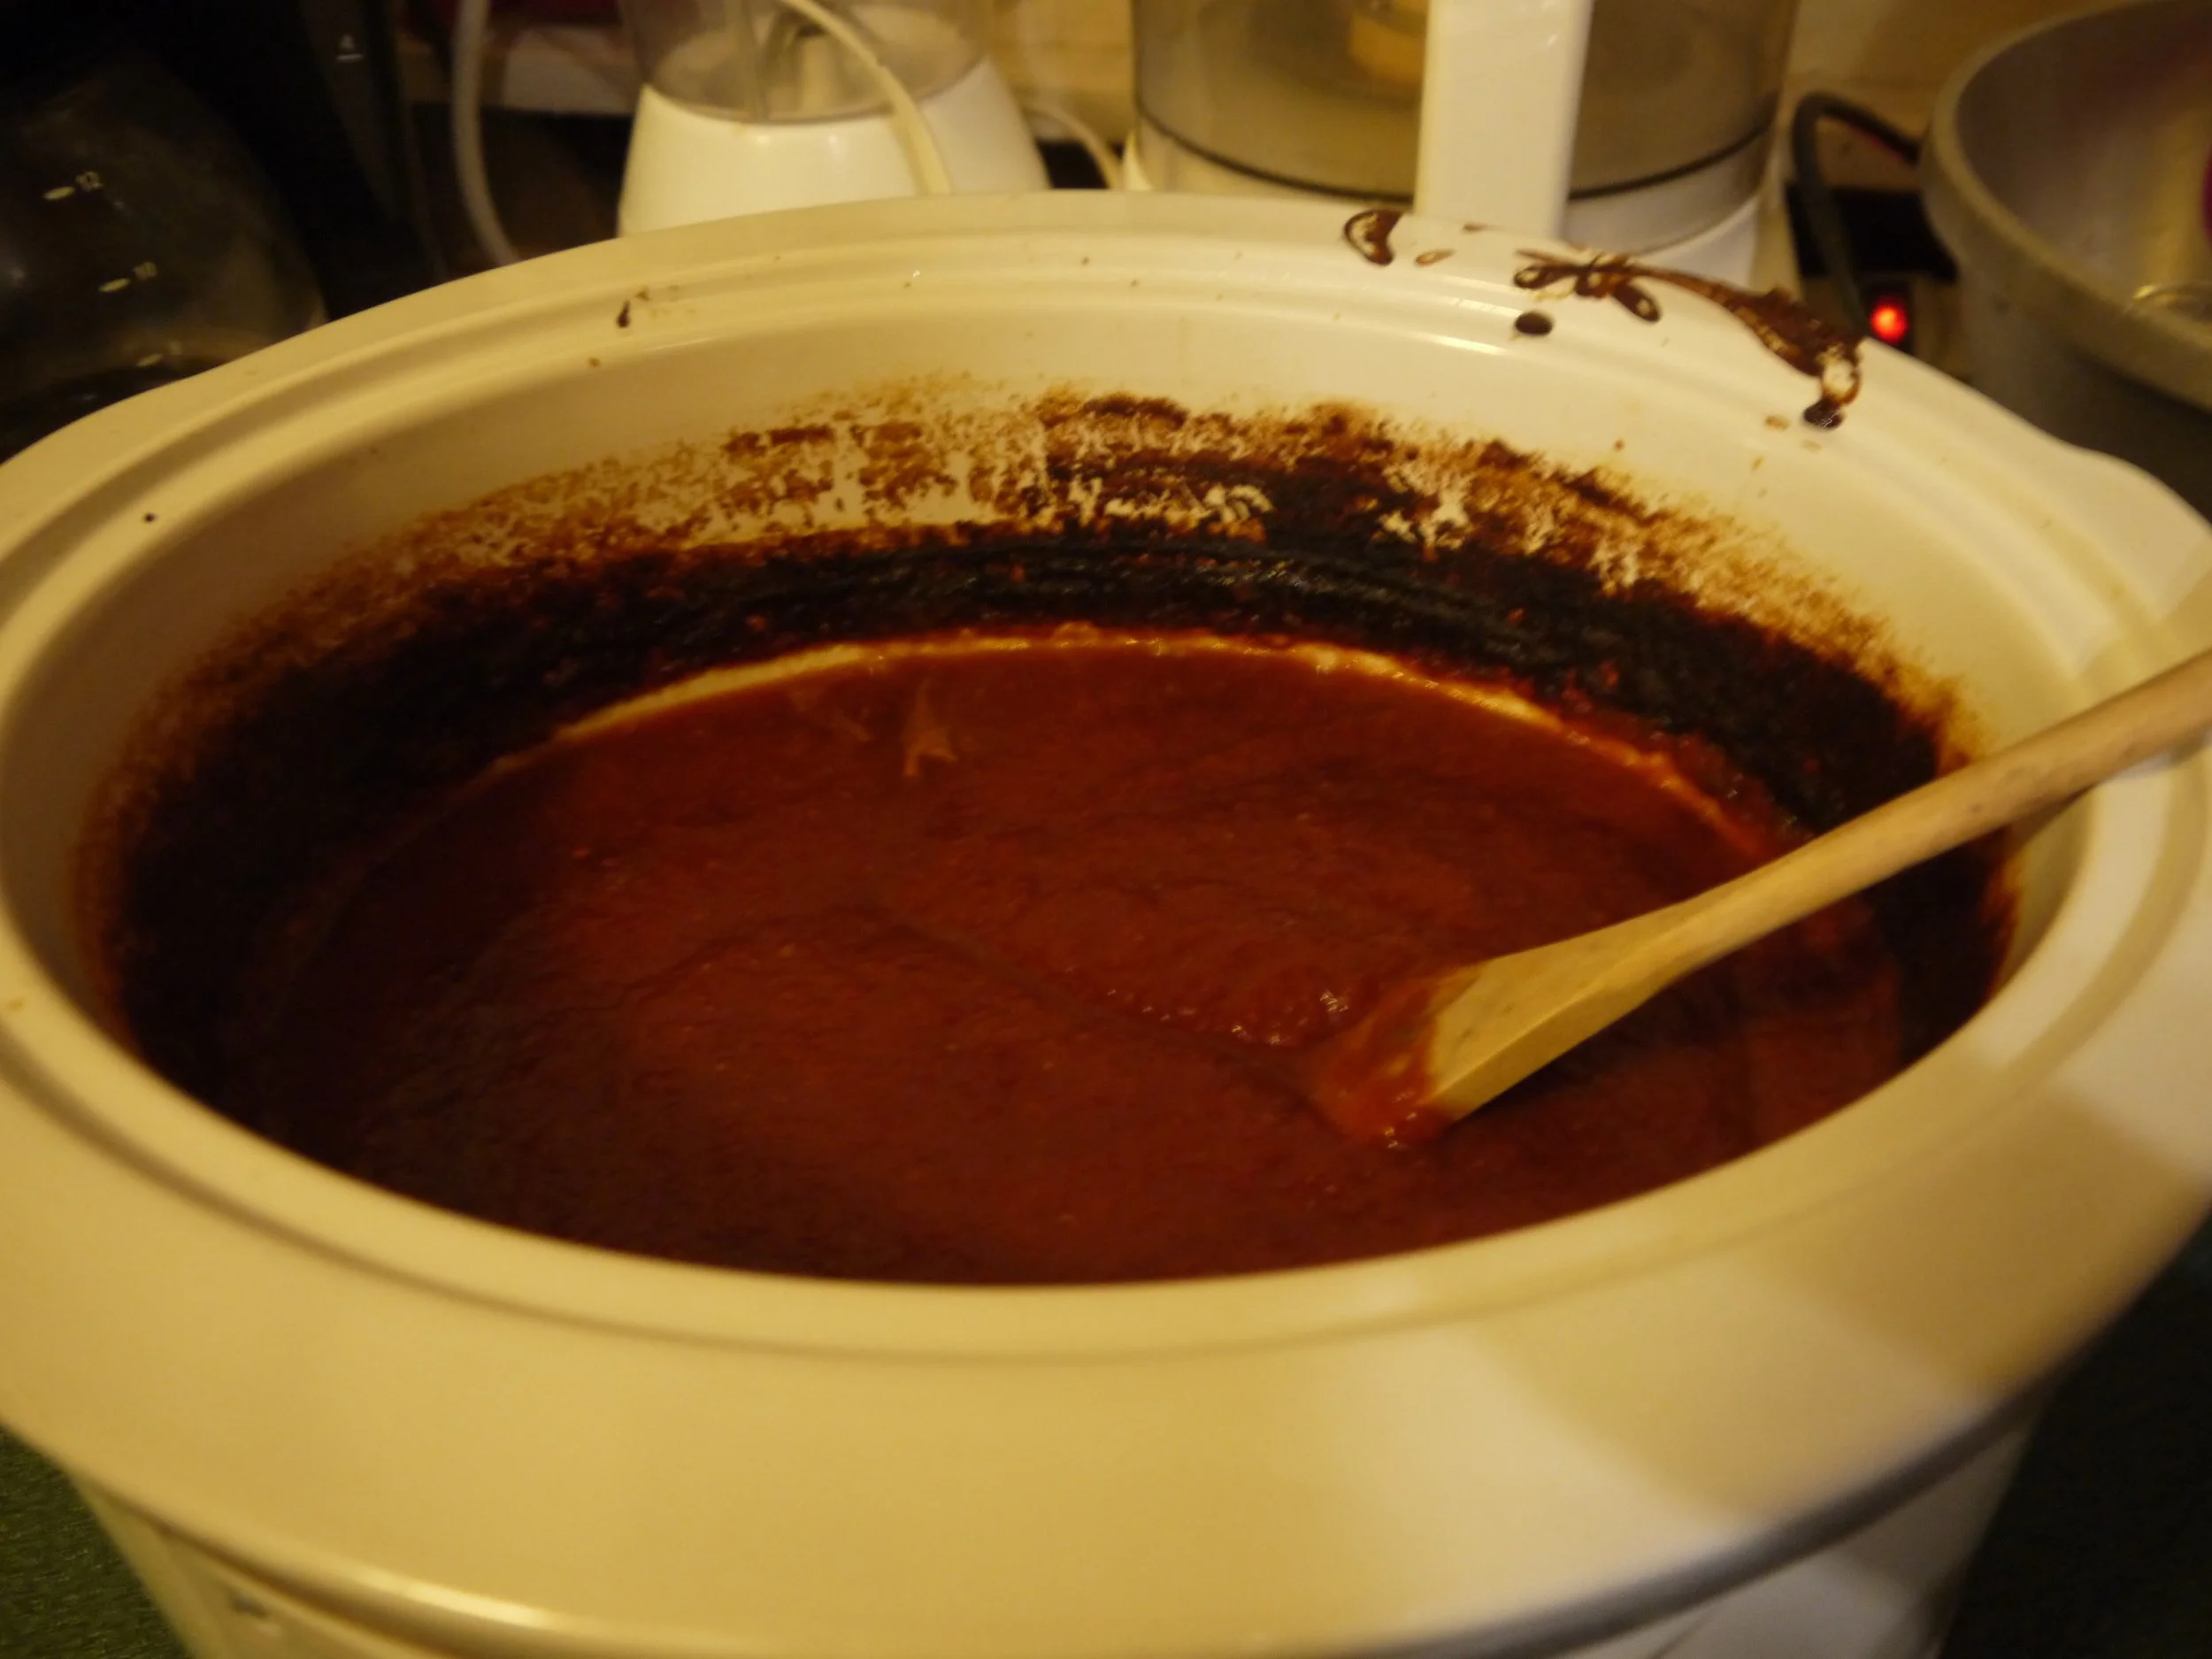
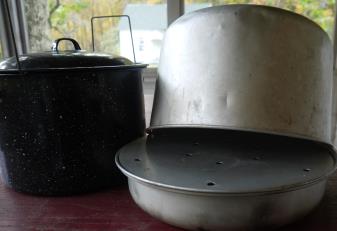
Put the grated fat in a heavy saucepan and melt over low to medium heat. As soon as it is all melted, strain it through a fine sieve (discard the solids or feed to a pet) and pour into a shallow pan to set. Then clean up.
The clean-up involves using a pot of boiling water to dip all your utensils in, then wiping them clean before washing. Use the same boiling water to rinse out the saucepan you used. Then dump the water outside -- not down your drain.
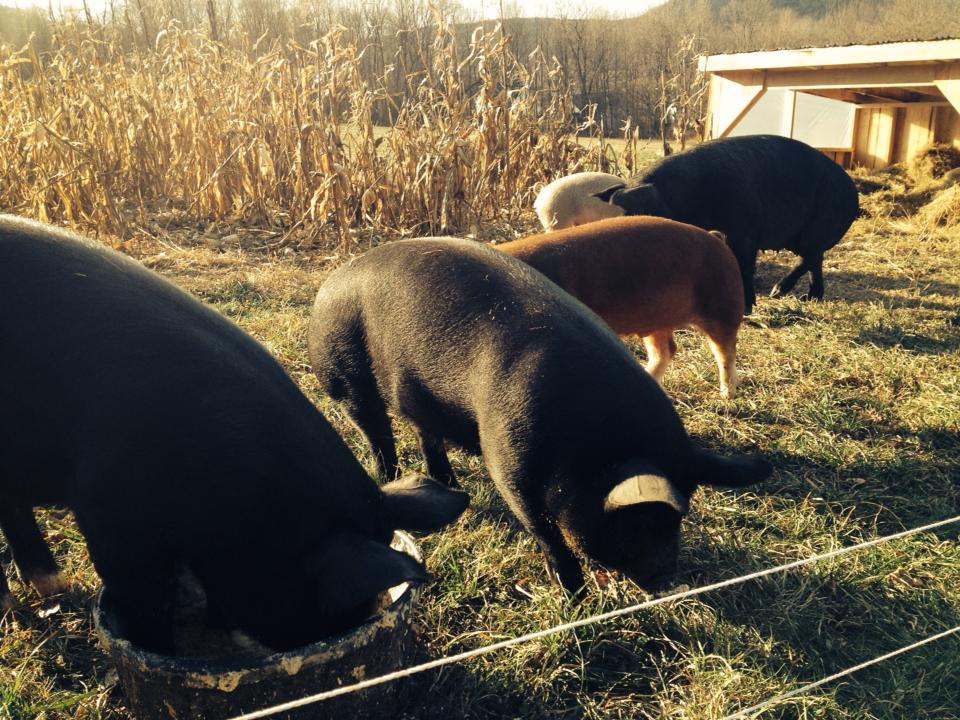
The melted fat will be golden but will turn white as it hardens. Sometimes, depending on the steer's diet, the white will have a yellowish cast. I know this batch of fat came from a steer that was most grass-raised and "finished" with some vegetables, including a little corn.

Pour the melted fat into a shallow pan for easy removal
What am I going to do with all the fat? I'll use it for all my frying. It's the best for producing a crispy coating on french fries, potato pancakes, fritters, fried chicken, fried fish--you name it. And, if you want to suggest a barter for some of it, I am all ears.

Fried chicken is extra crispy when fried in lard.